I’m a traditional girl at heart when it comes to Christmas and this next colour palette for Colour INKspiration is just that. It’s so my cup of coffee!
Here we are playing with Black and White along with Real Red and Shaded Spruce.

I went back to my comfort zone with a traditional Christmas card.

Layering black cardstock onto a white card base created the start for the decorative layers. I stamped fir leaves in Shaded Spruce ink onto a layer of White cardstock. Whilst this colour green ink is not my go to, what I do like about it is… it’s such a rich colour it’s perfect for generational stamping technique. This is what I did here in the background, stamping off first and creating light and dark leaves, thus stitching the shades of colour within the one ink pad. I added two die cut fir leaves. The fir stamp is from the Christmas classics bundle and the die is from the Joy of Noel bundle.

Next I layered some Black and White gingham ribbon and a strand of silver trim. Over the top is the main feature – the sentiment. Here I white heat embossed the letters from the Alphabest stamp set and punched them out with the coordinating punch to create the Merry. I stamped the Christmas for the Joy of Noel stamp set in Black ink and fussy cut.
To finish I scattered some silver pearls from the Festive Pearl pack. I hope this has inspired your creativity to create your version of these.
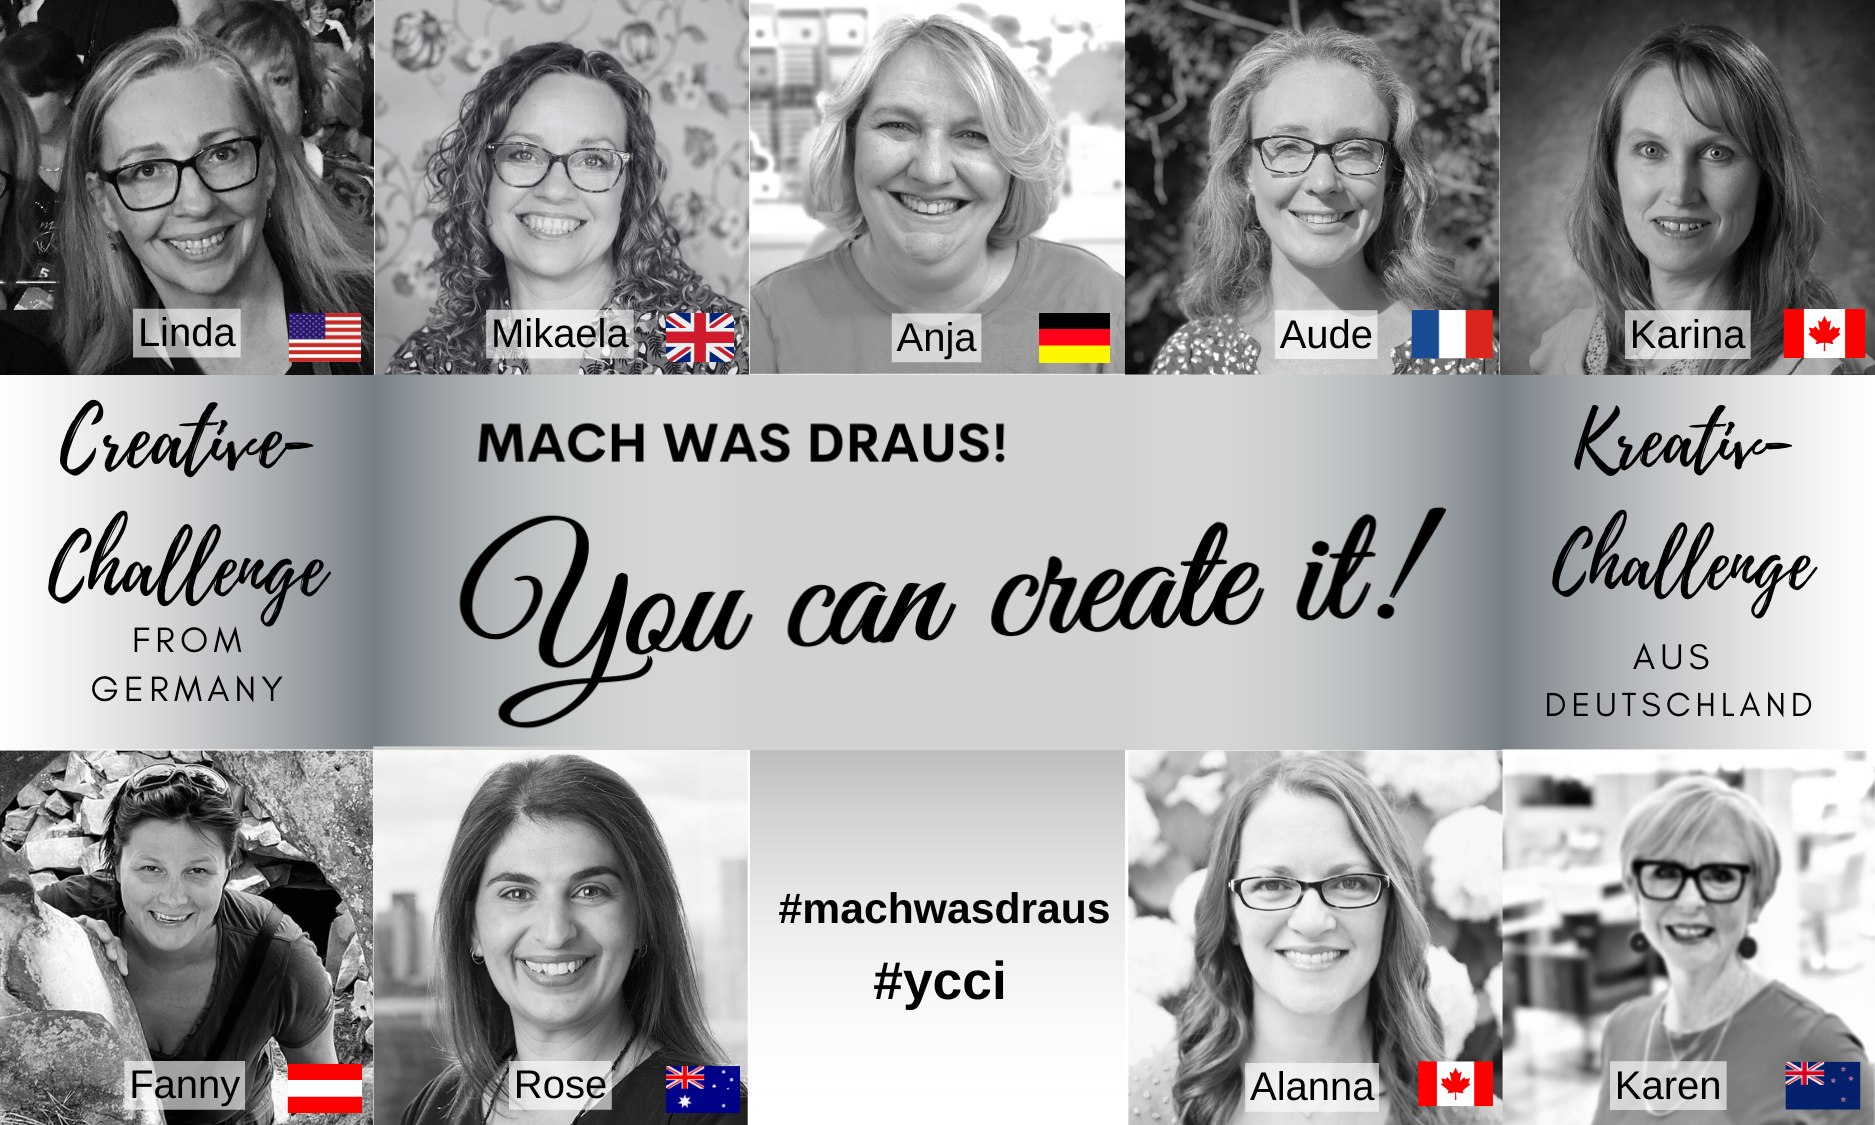
More INKspiration is loaded up over in our Facebook Challenge group. Head over and enjoyed all the amazing inspiration from the crew. We will be excited to have you play along with us. This challenge is open until Monday December 11th – that’s almost three weeks. Look forward to seeing you over on the group..
Until next time… Stamp Creatively,
Click to shop supplies specific to this project:
") $85.50 |  $57.50 |  $17.50 |  $17.50 | |
 $17.50 |  $11.50 |  $16.75 |  $54.00 | |
 $32.00 |  $12.25 |  $13.25 |
")

 Gingham Ribbon")
Stampin’ Staples – Click to shop these commonly used crafting supplies:
 $18.50 |  $15.00 |  $9.75 |  $10.25 |  $7.50 |
 $12.25 |  $14.00 |  $10.50 |  $46.00 | |
 $19.25 |  $8.75 |  $12.25 |  $19.25 | |
 $223.00 |  $12.25 |  $16.75 |  $23.00 | |
 $16.75 |


")
 Designer Series Paper")
 Luster Specialty Paper")
 Adhesive Backed Glimmer Paper")


 Designer Series Paper")


")


 Specialty Vellum")
 Iridescent Trim")


")
 Specialty Designer Series Paper")
")


 Metallic Specialty Paper")


")
")
")
 Designer Series Paper")


 Fine Art Ribbon")


 Specialty Designer Series Paper")


")
")


 Mini Ruffled Ribbon")


