
Perennial Lavender is the feature of this months pack in the current Kit. Oh and this month is the last pack in the current kit. Subscriptions for the next Kit are now open. Read more here for details.
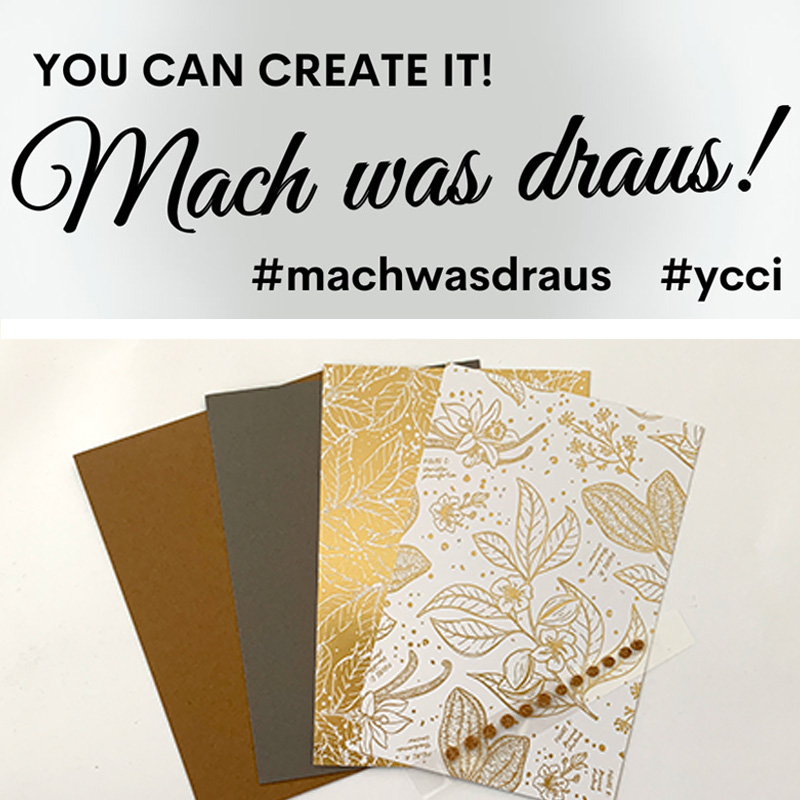
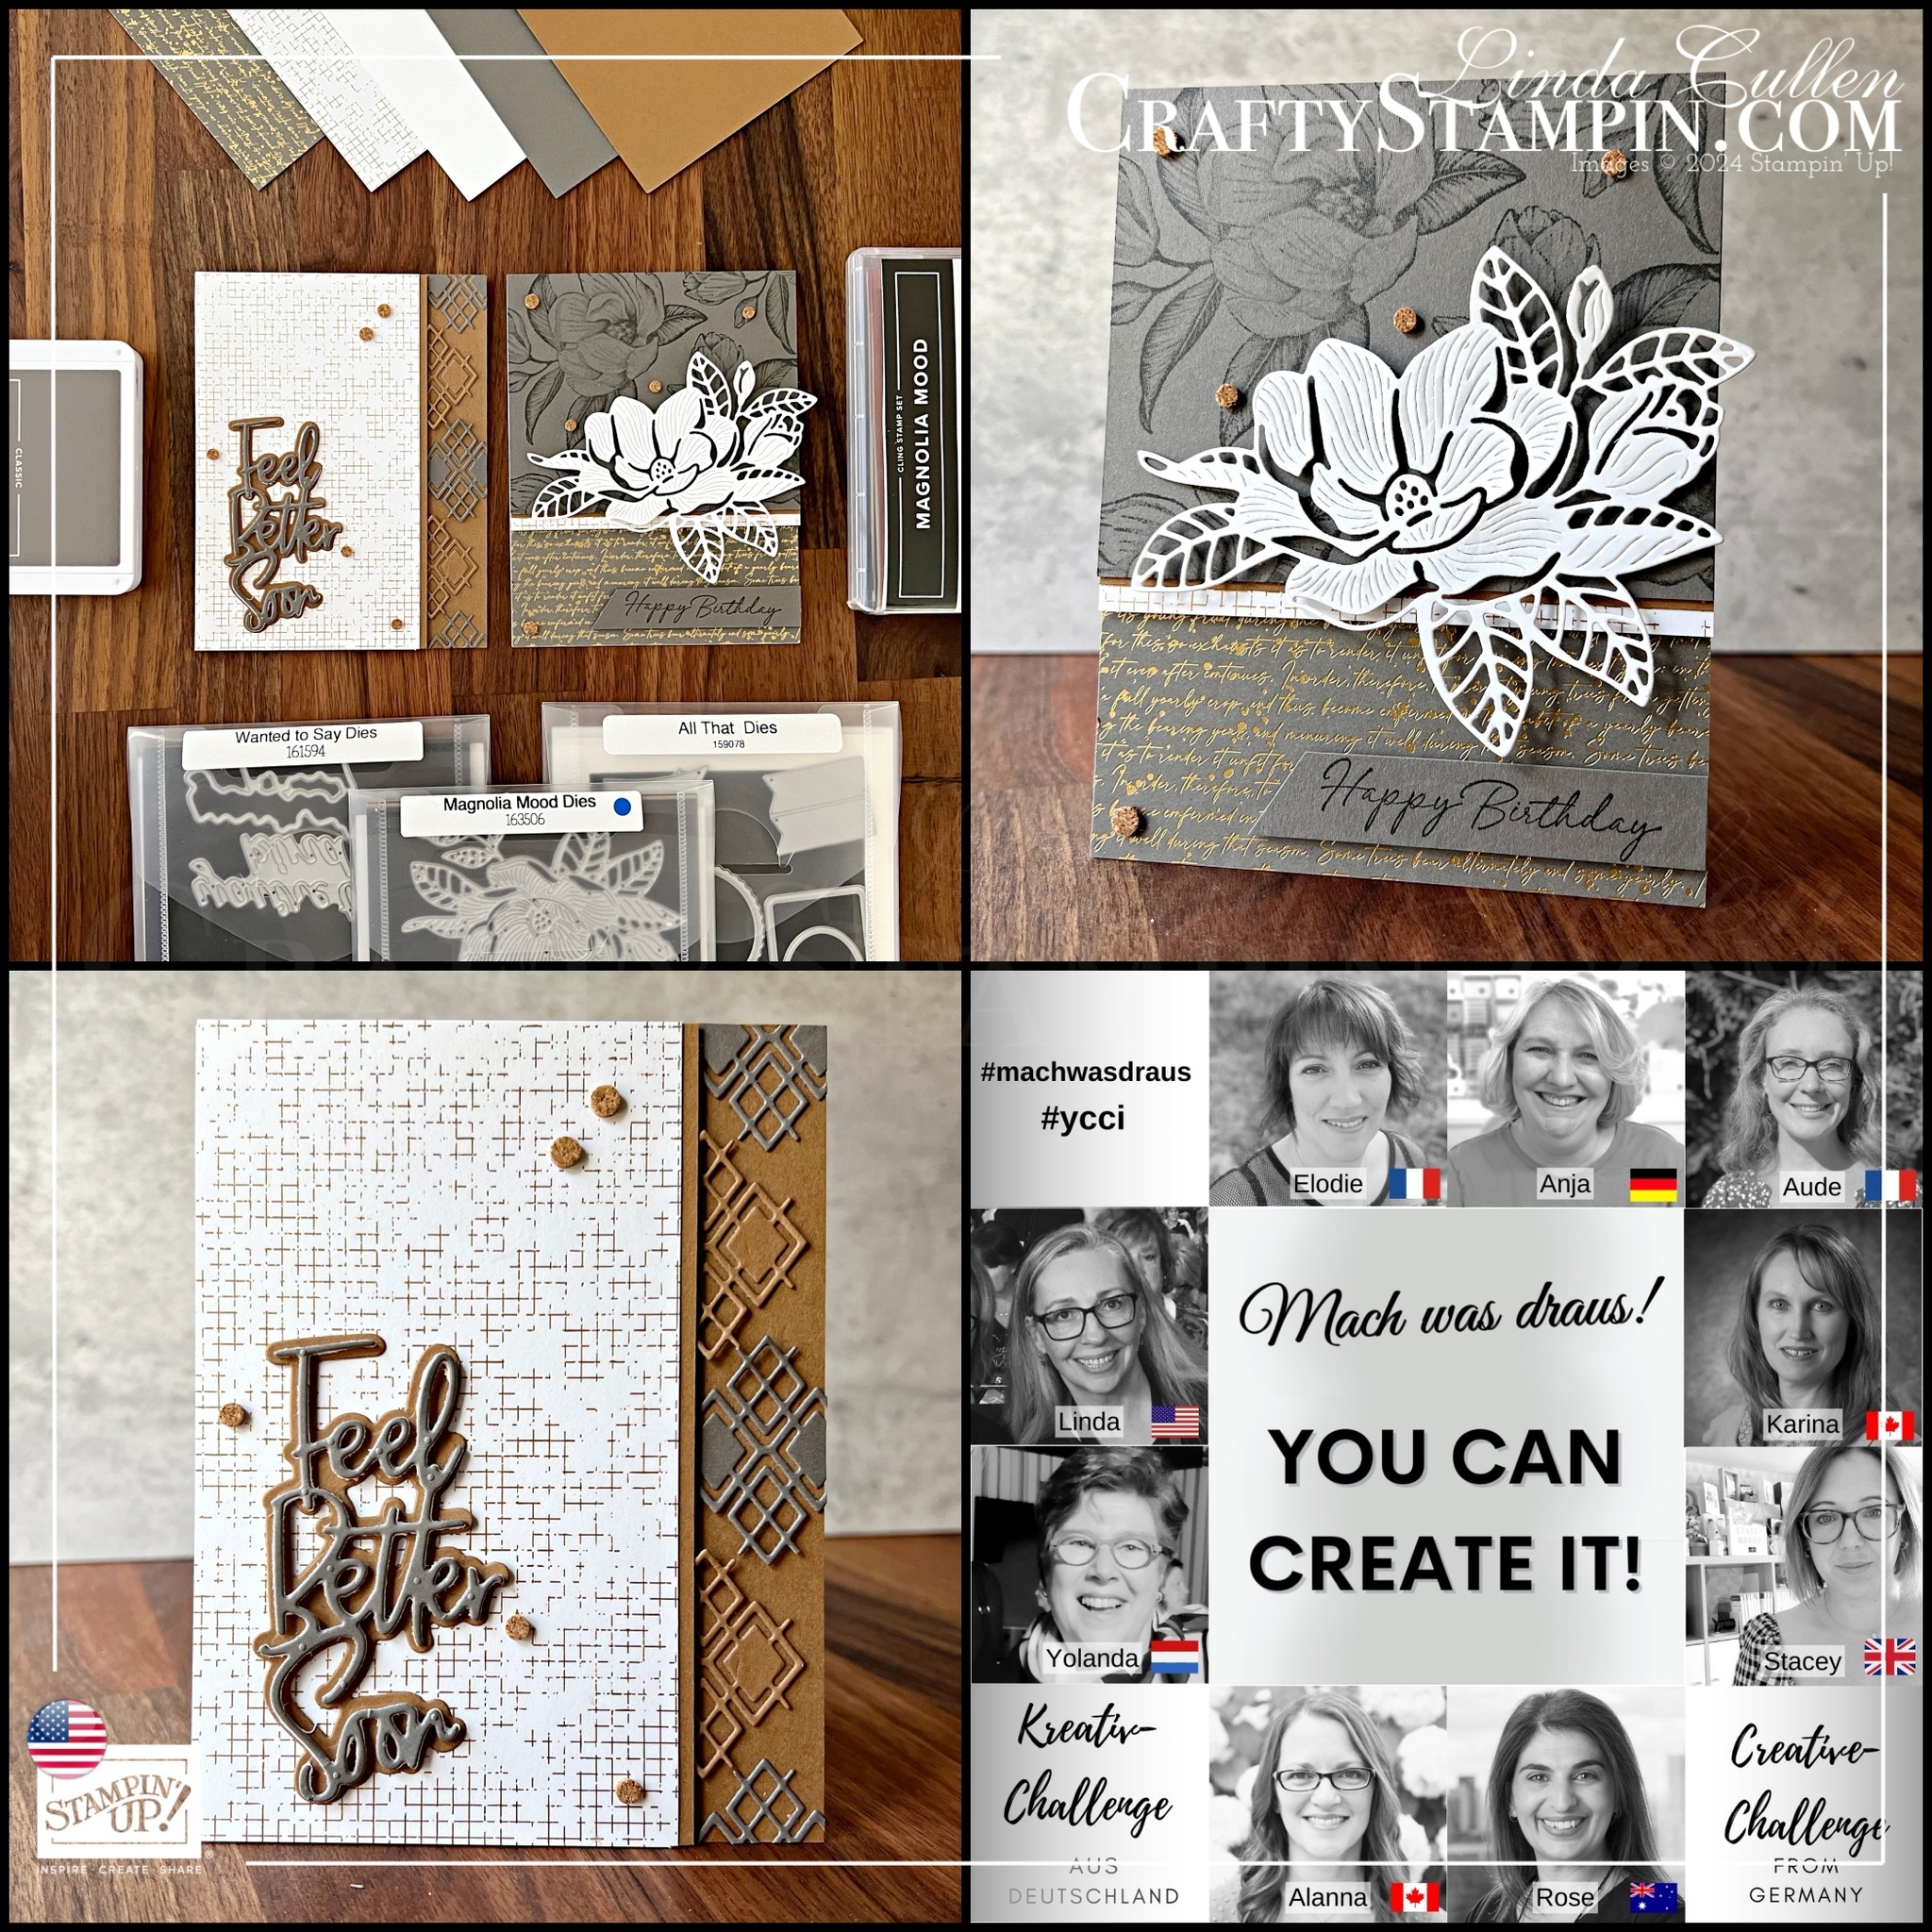
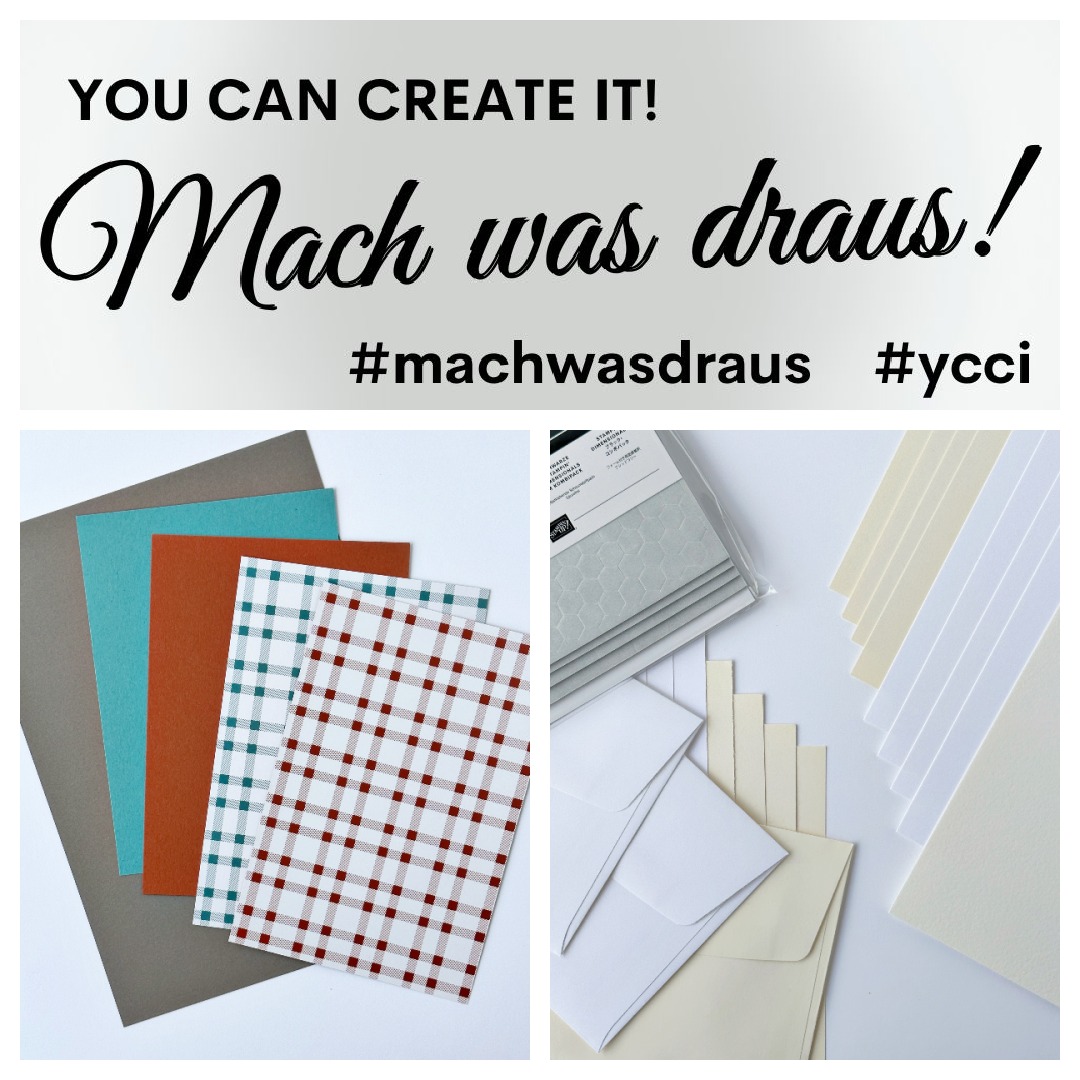
So let’s take a look at the contents of the pack we had to work with….

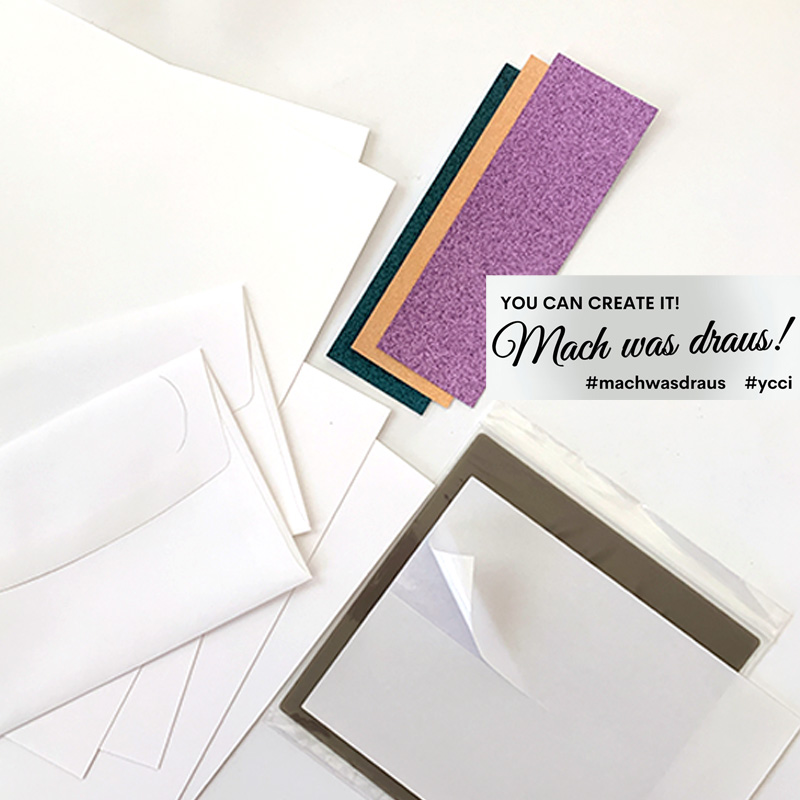
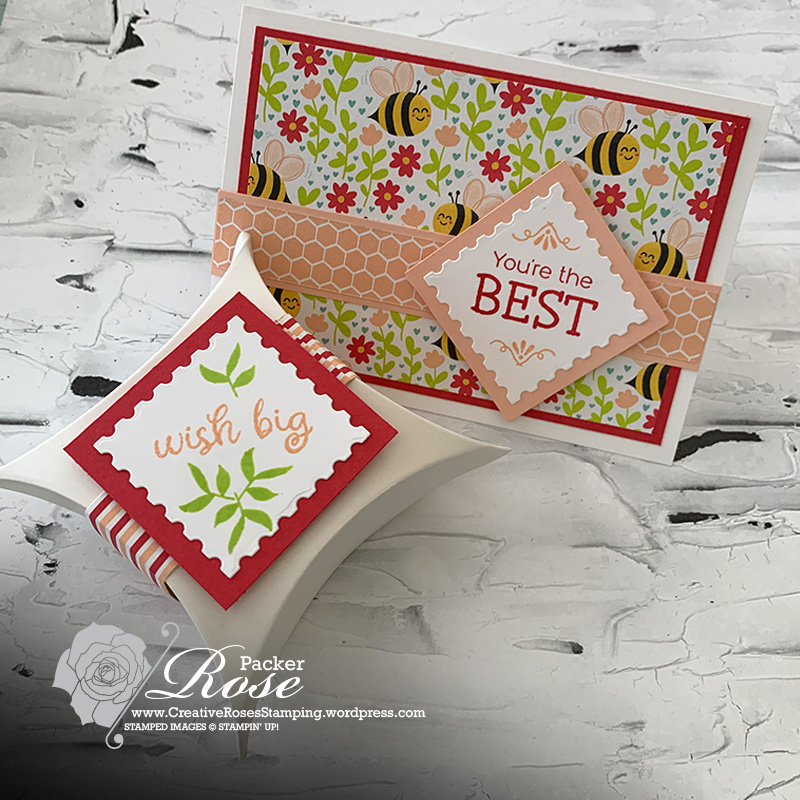
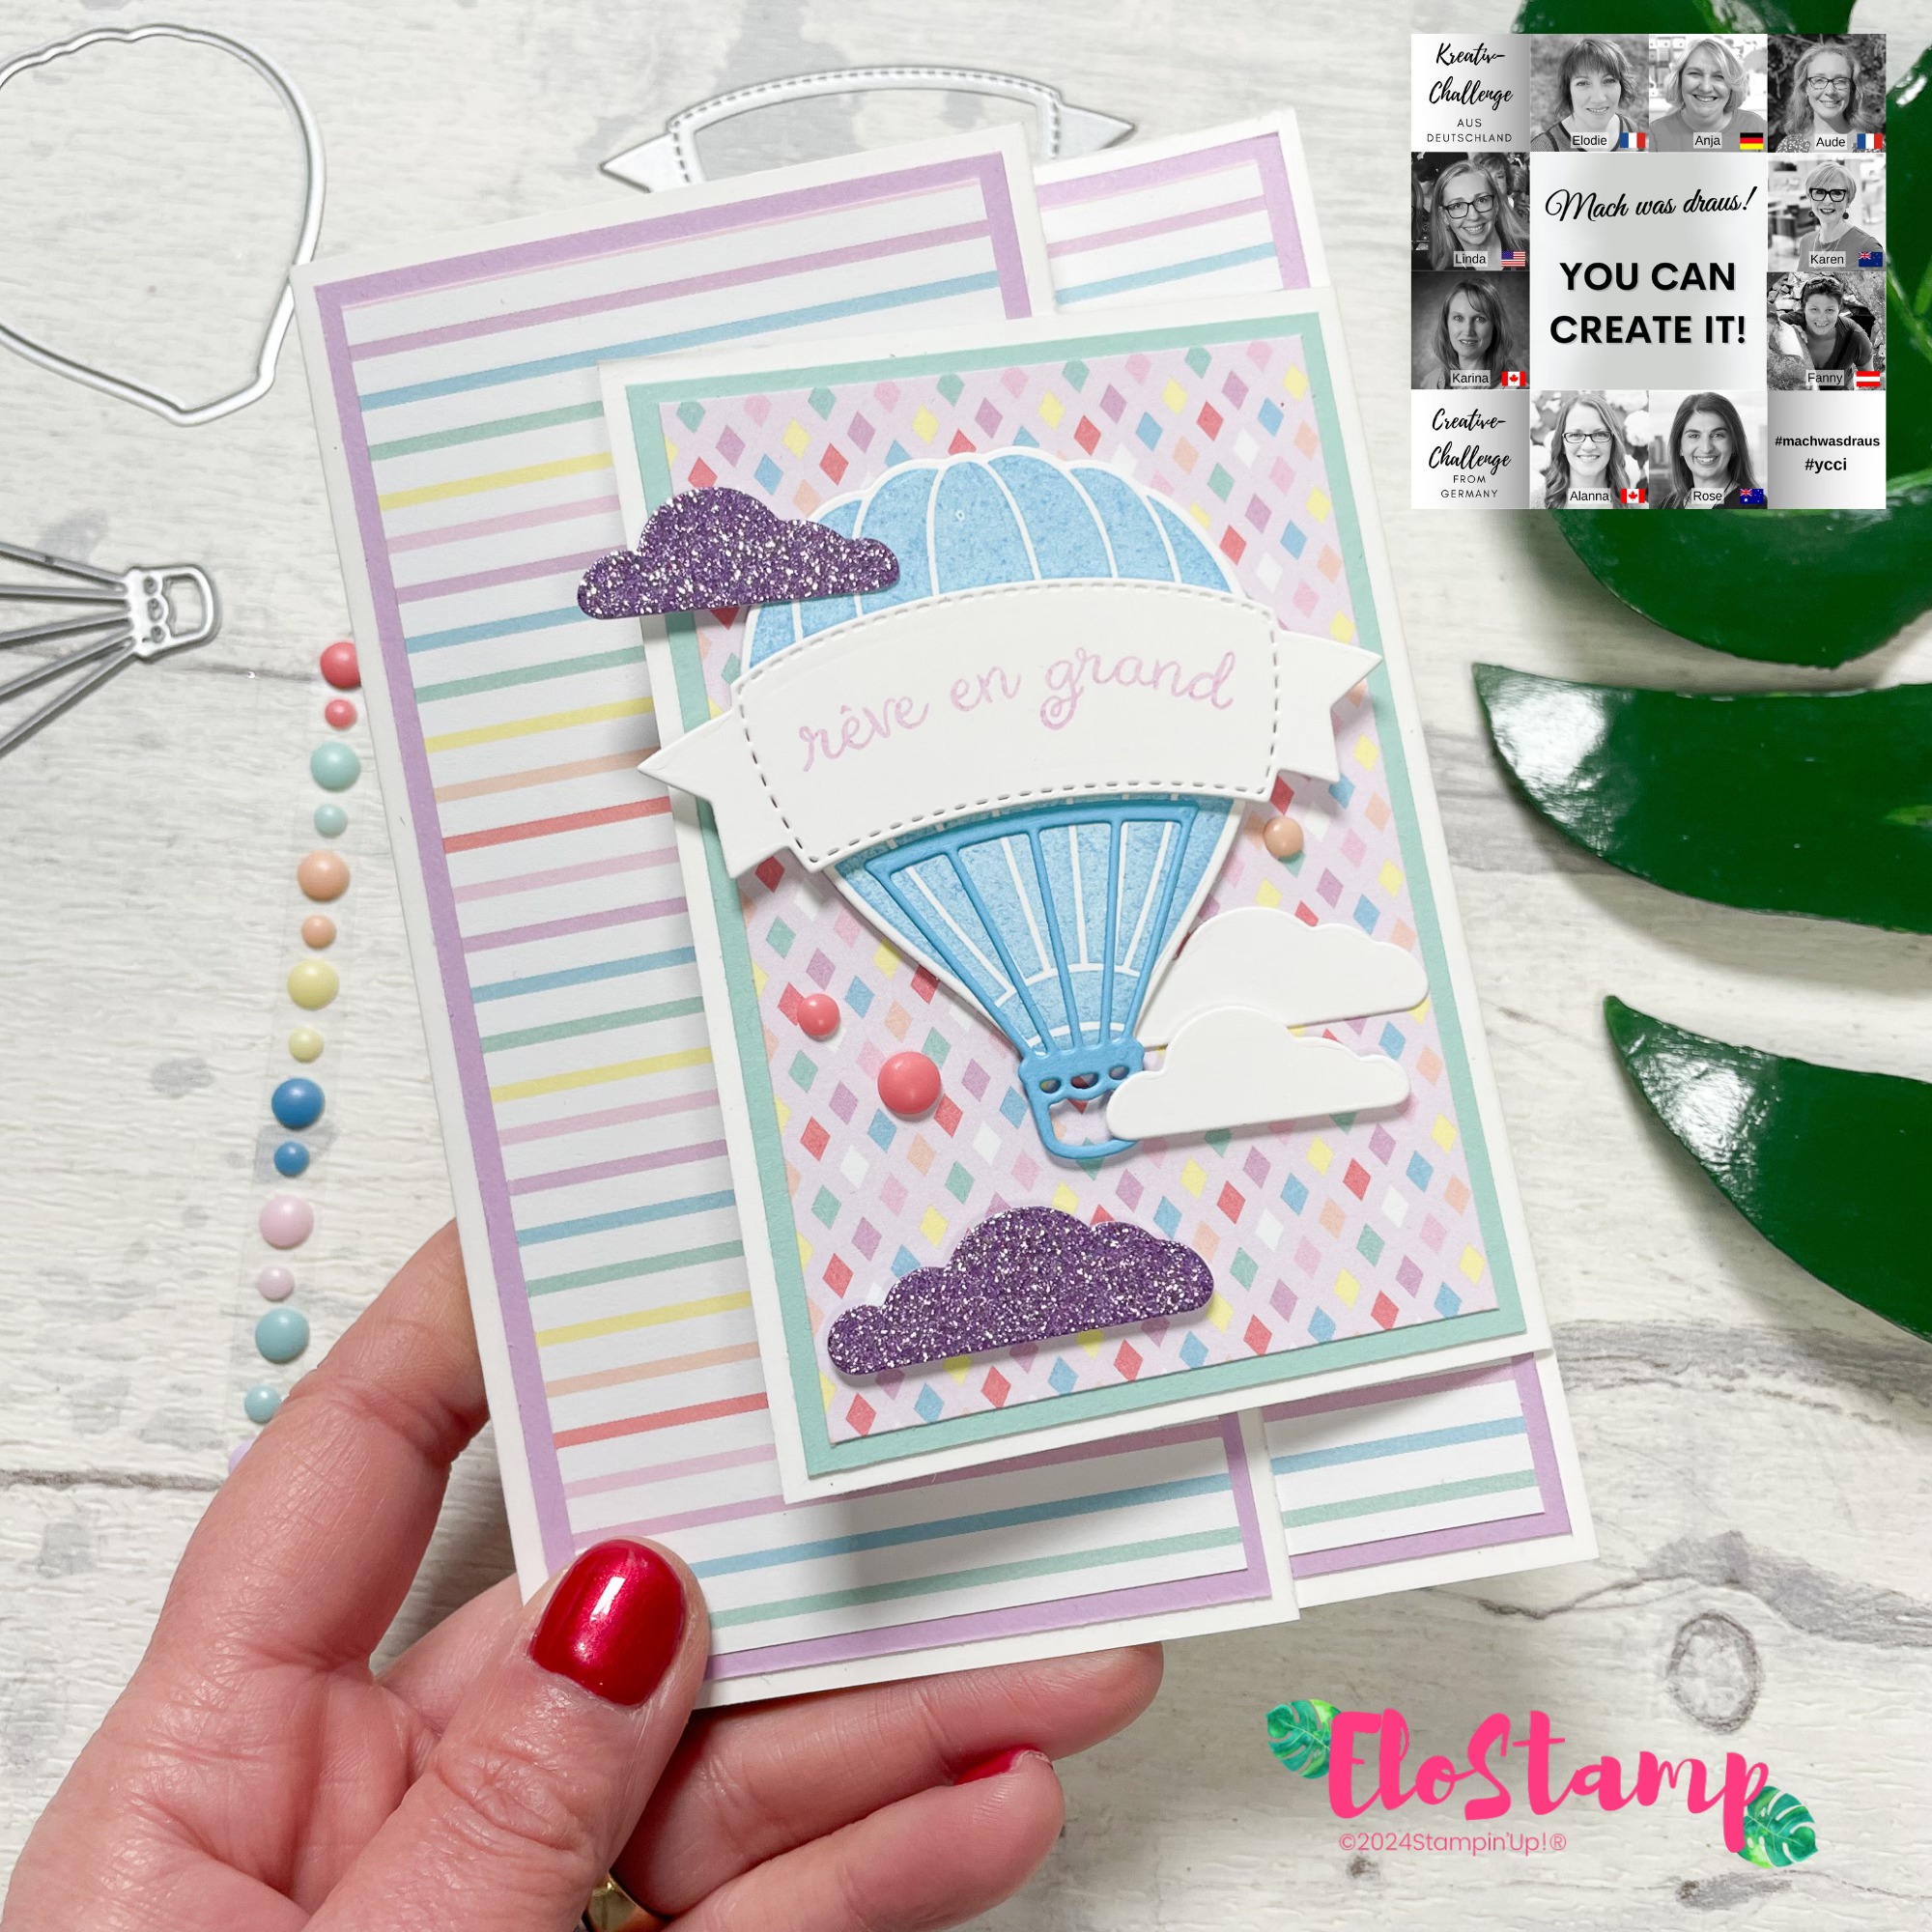
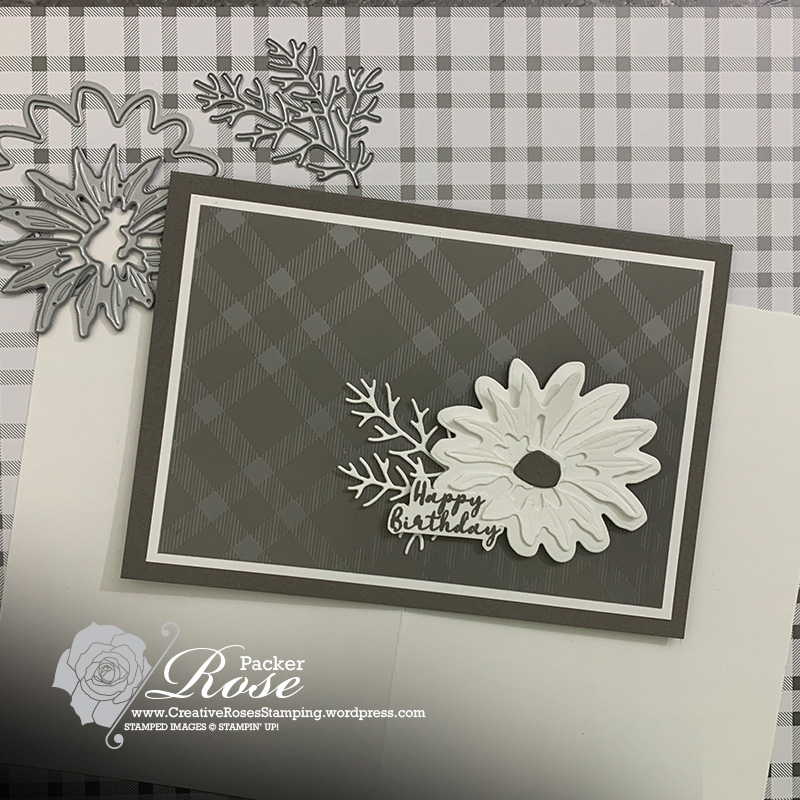
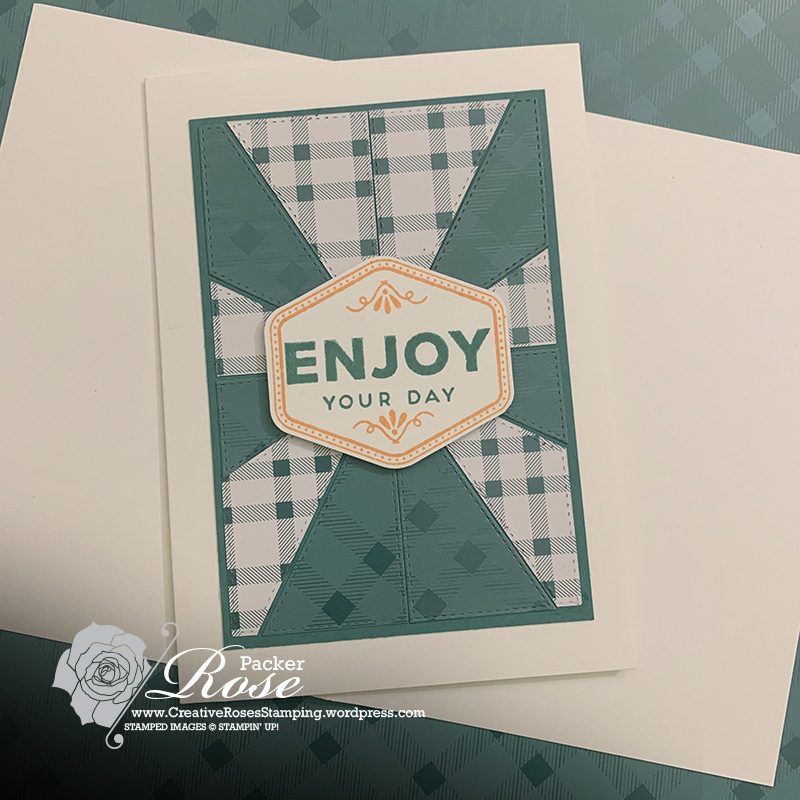
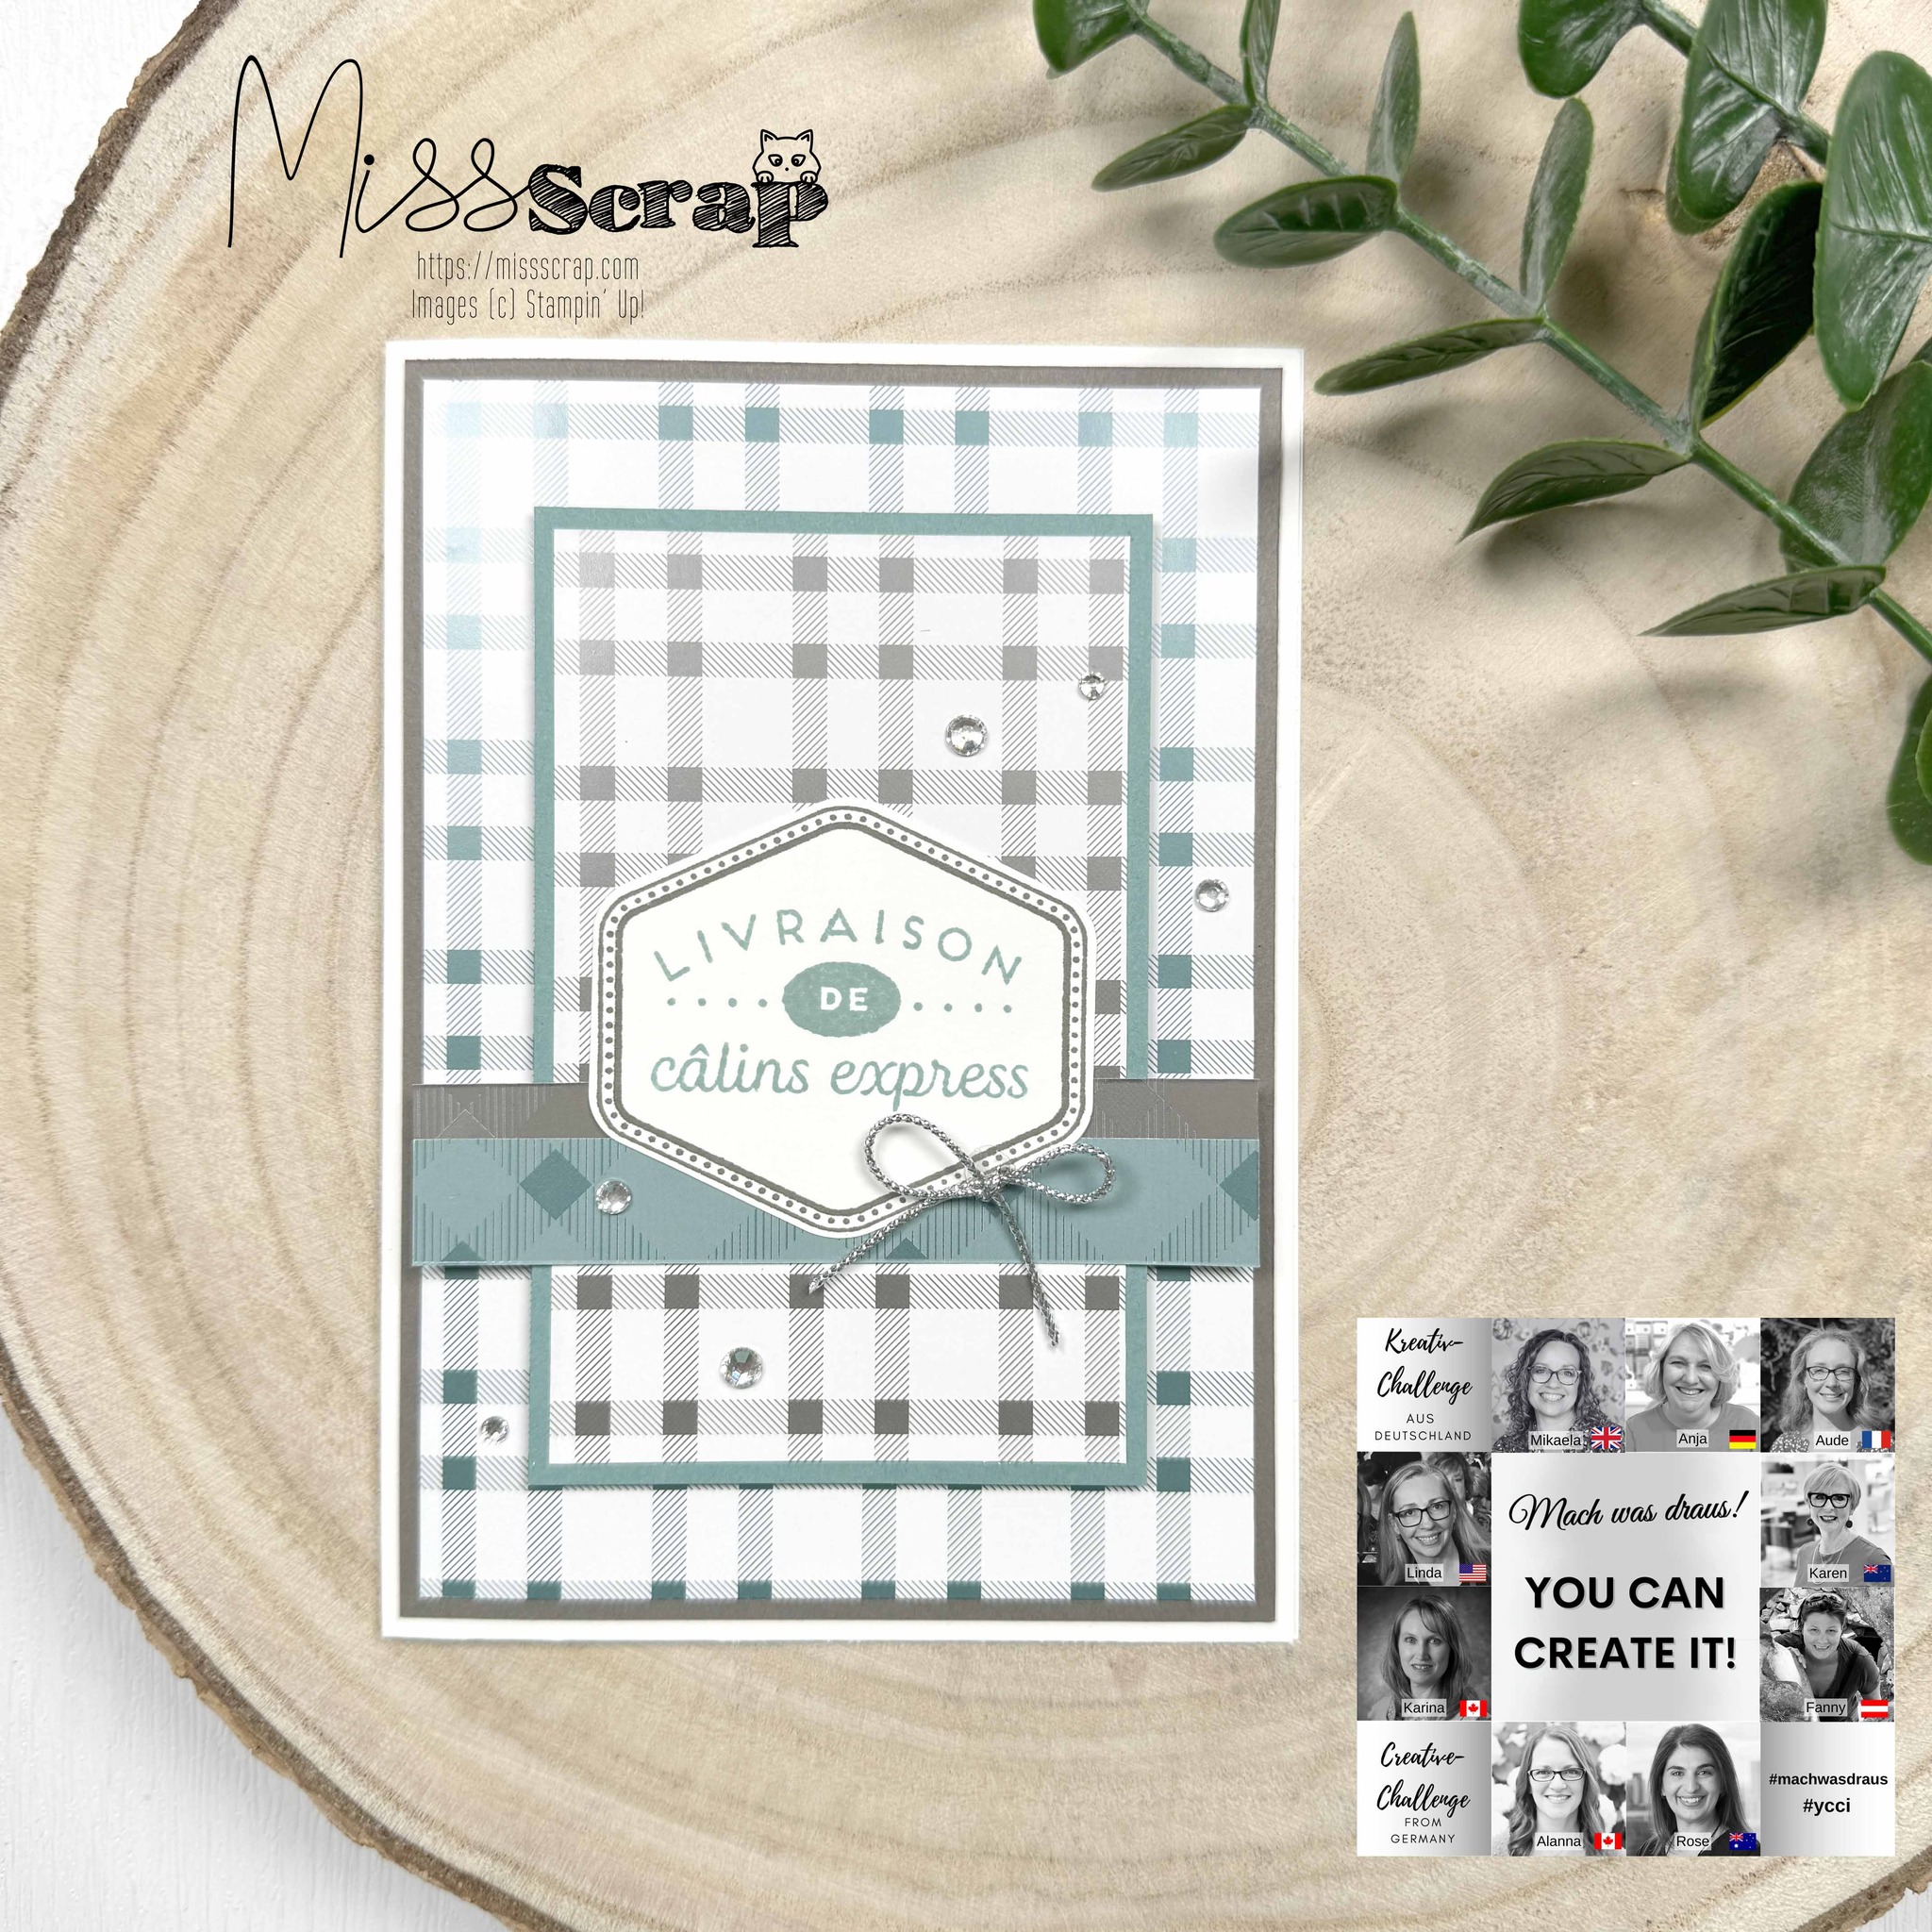
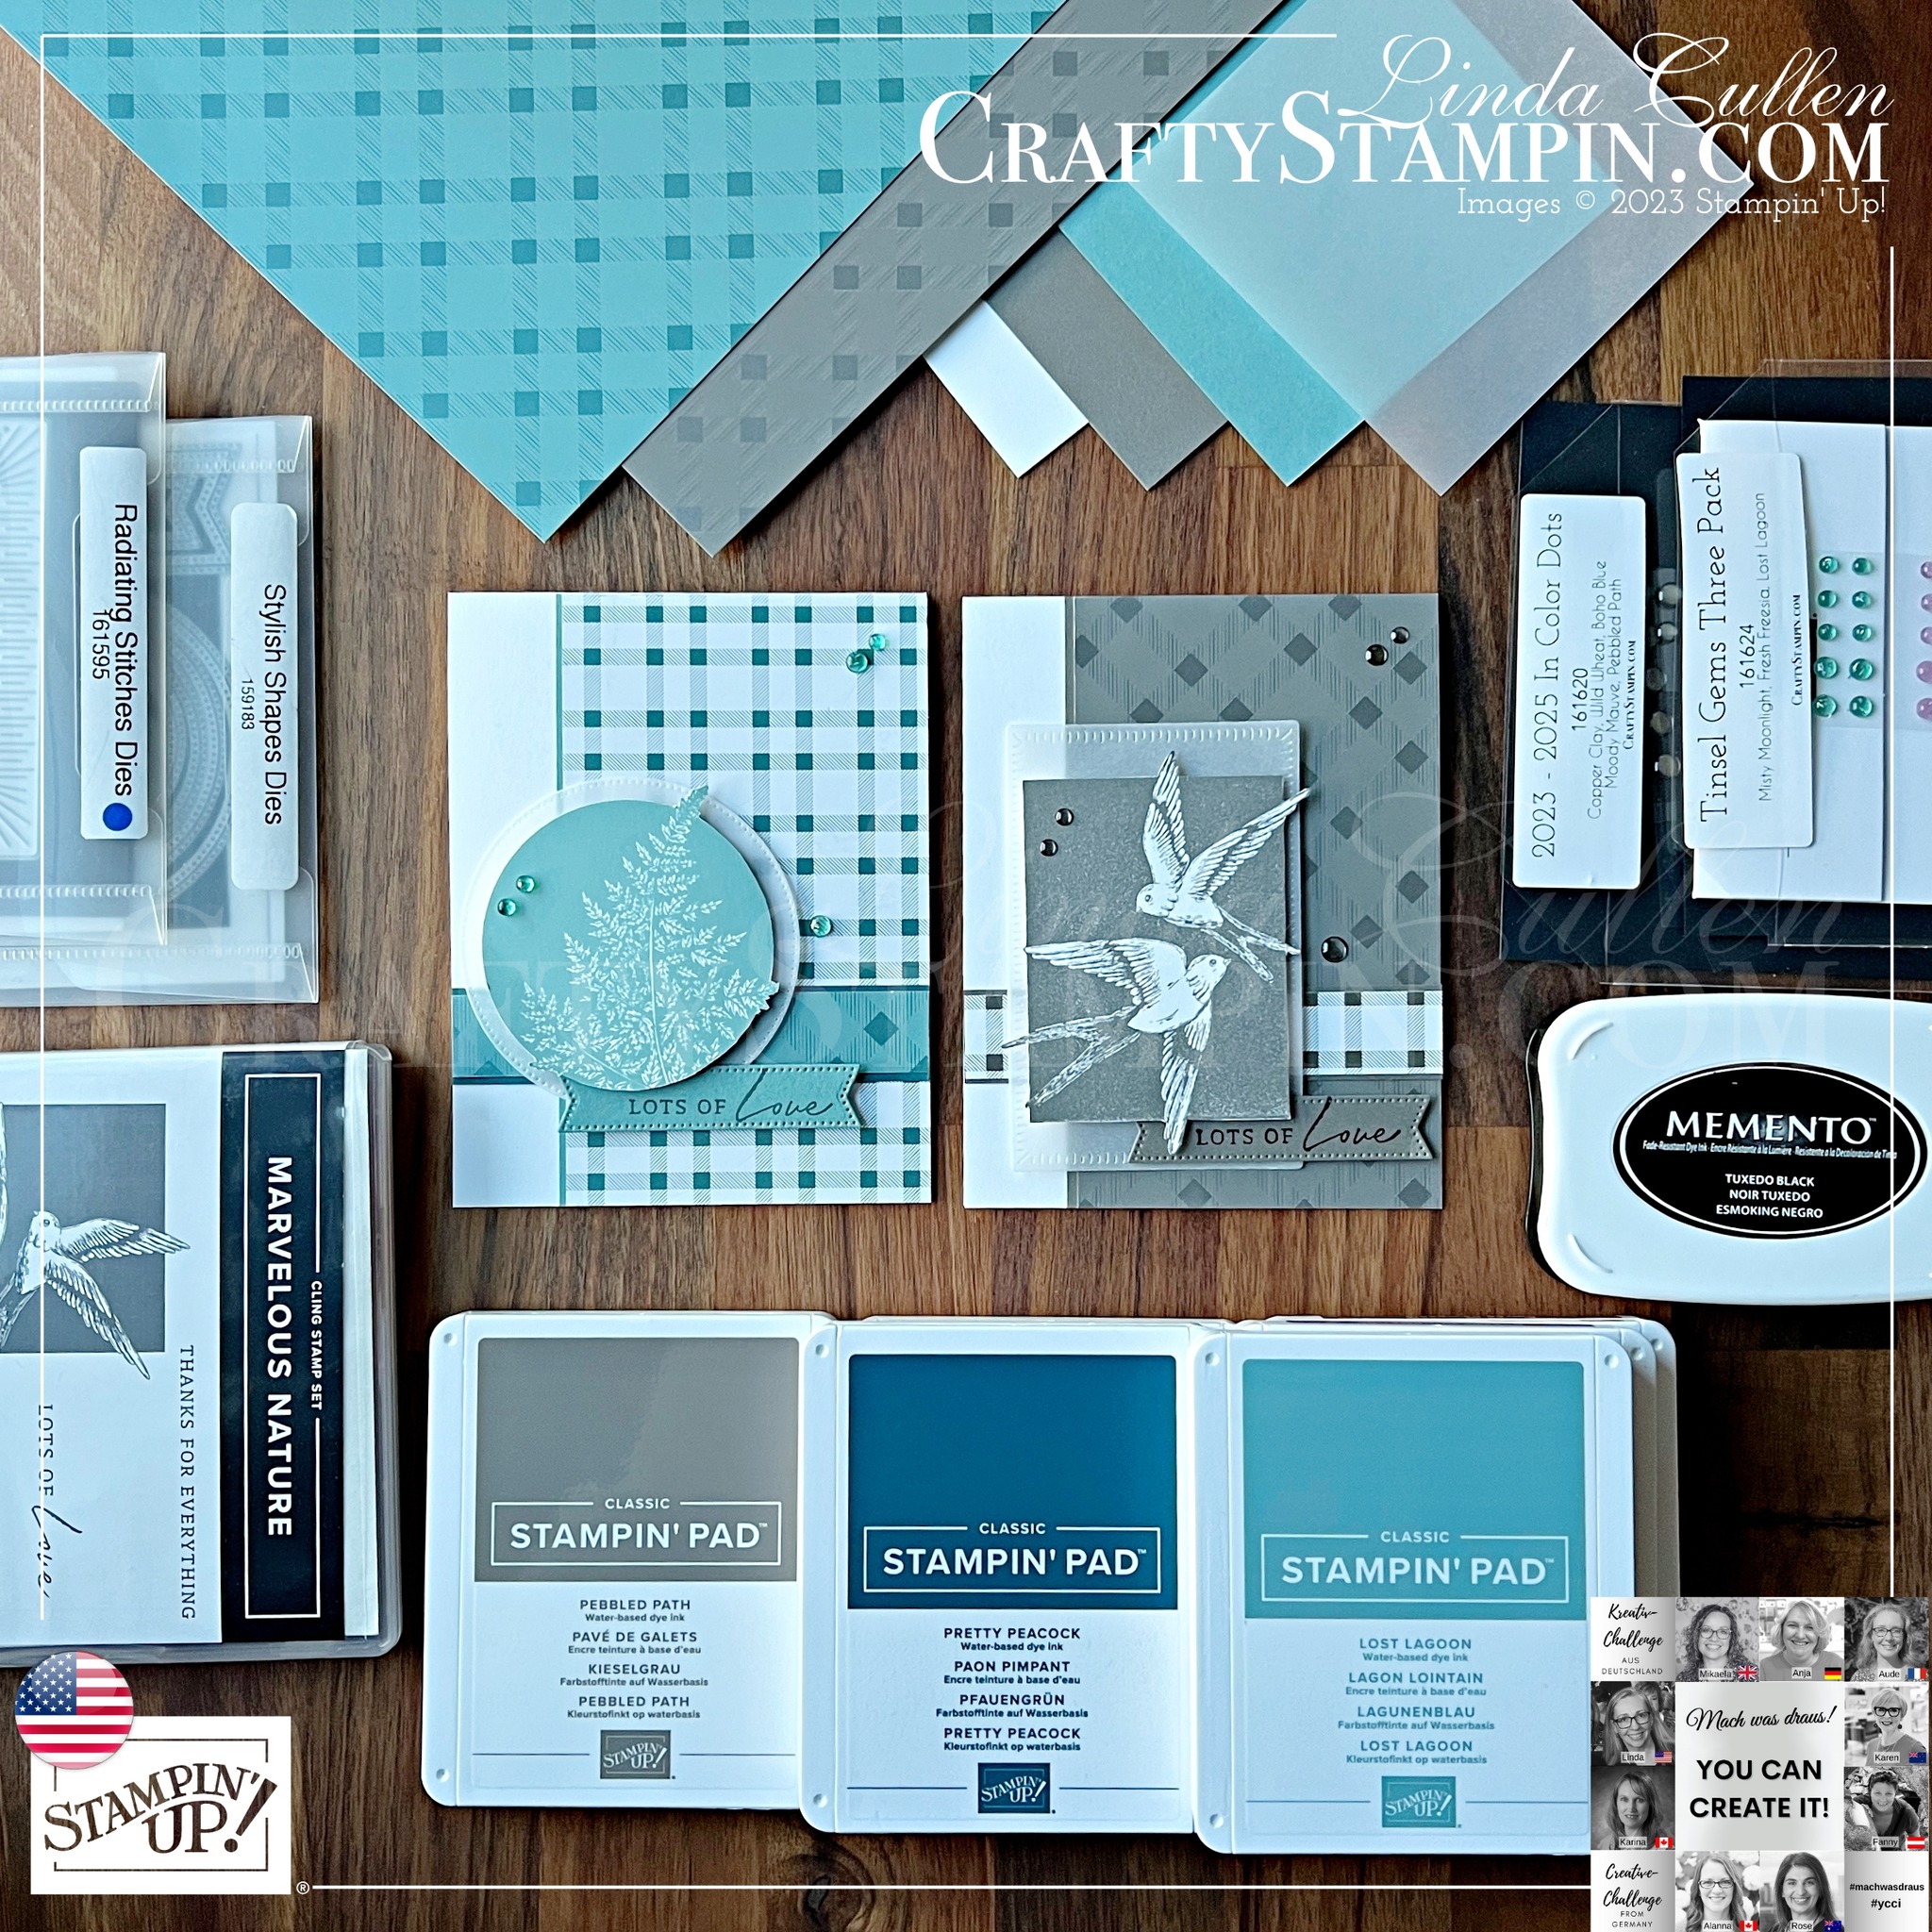
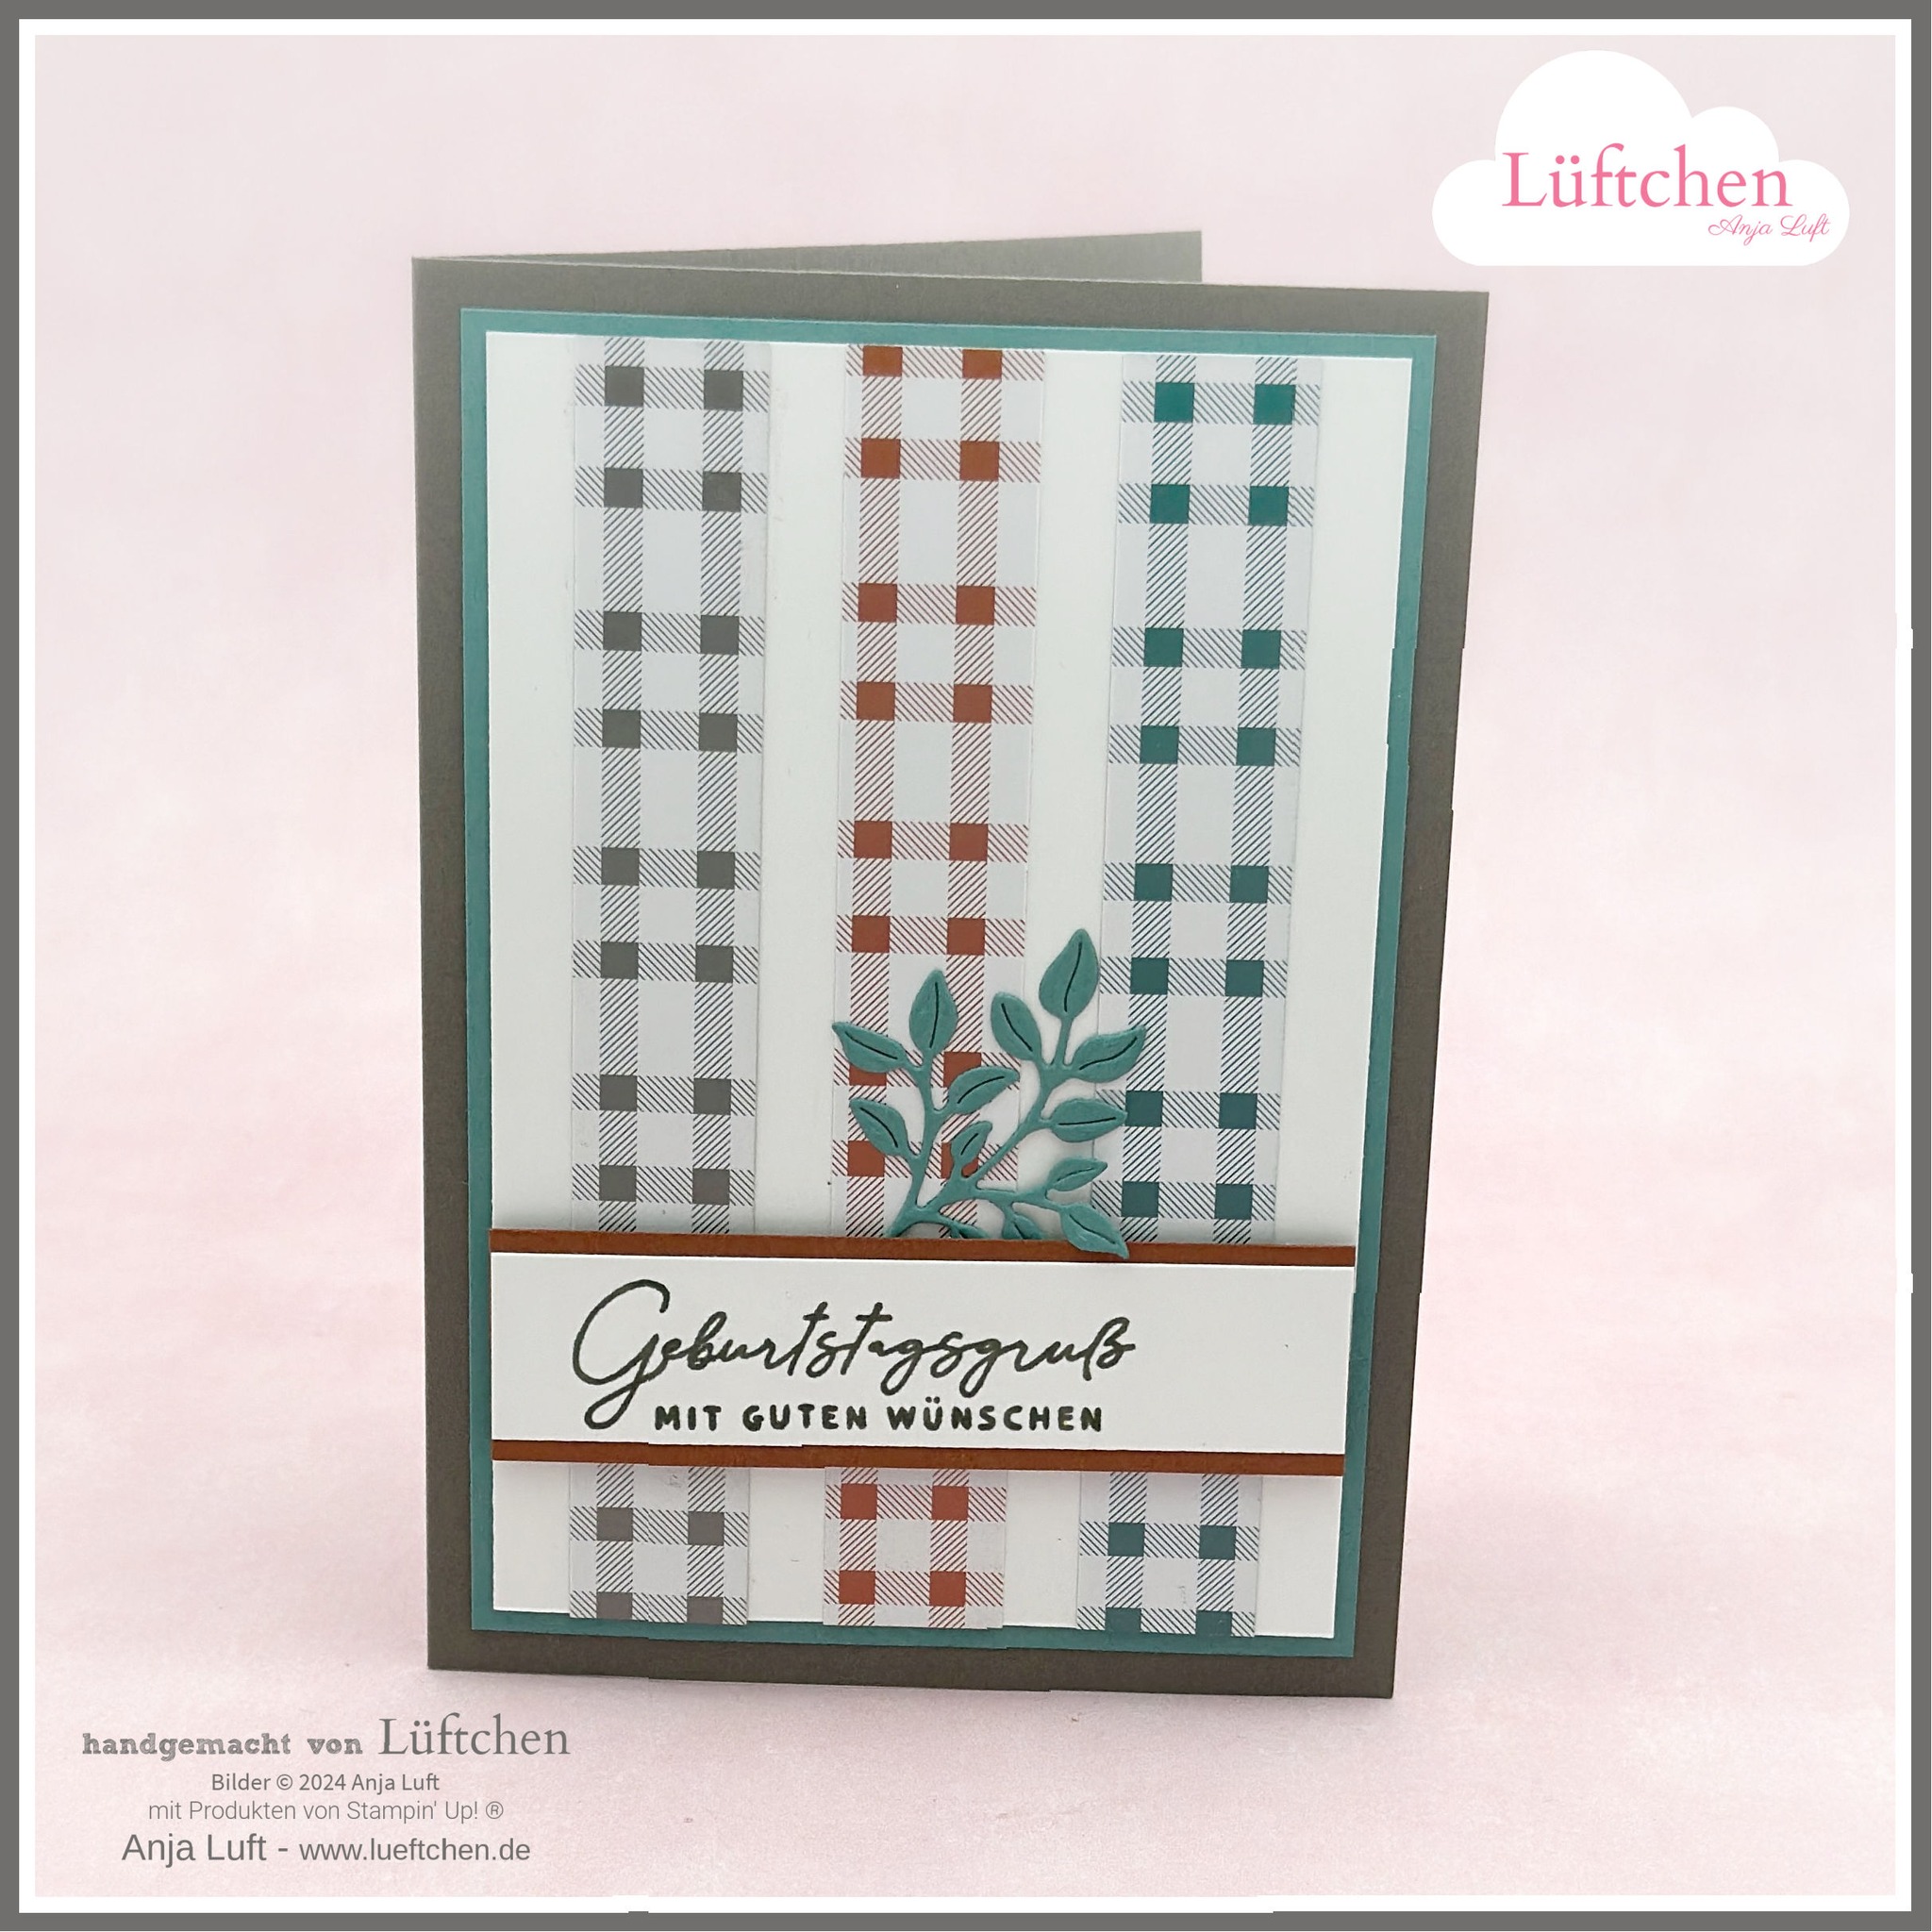
We have some designer paper, glimmer paper and cardstock. Here is how mine came together.

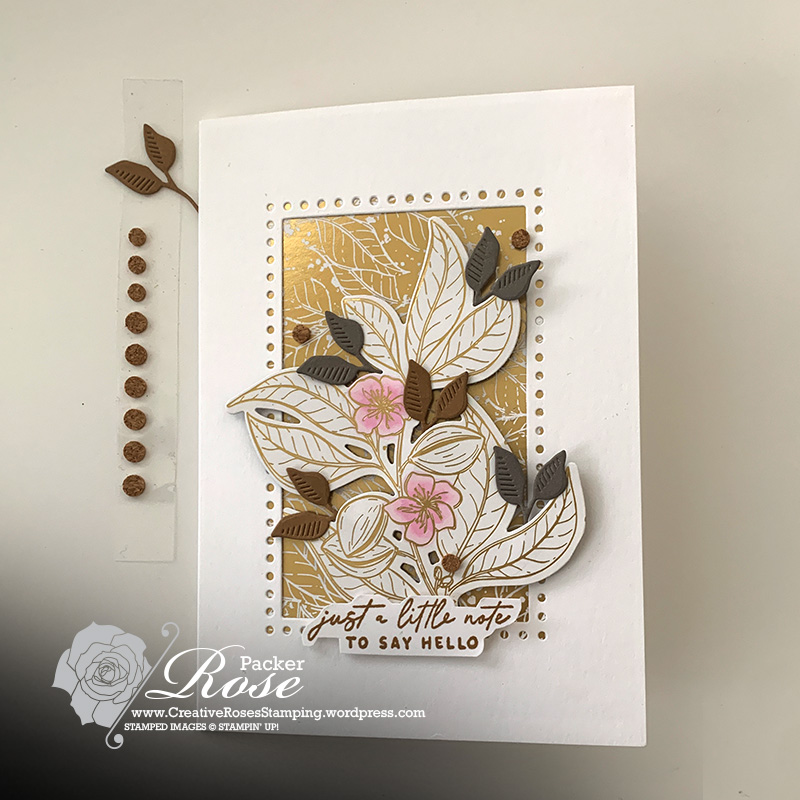
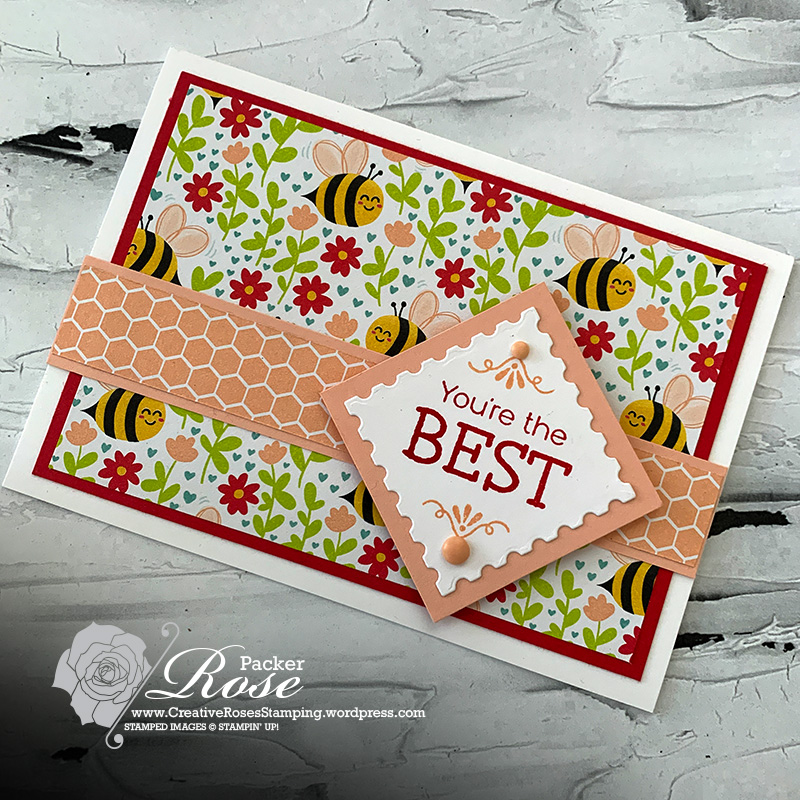
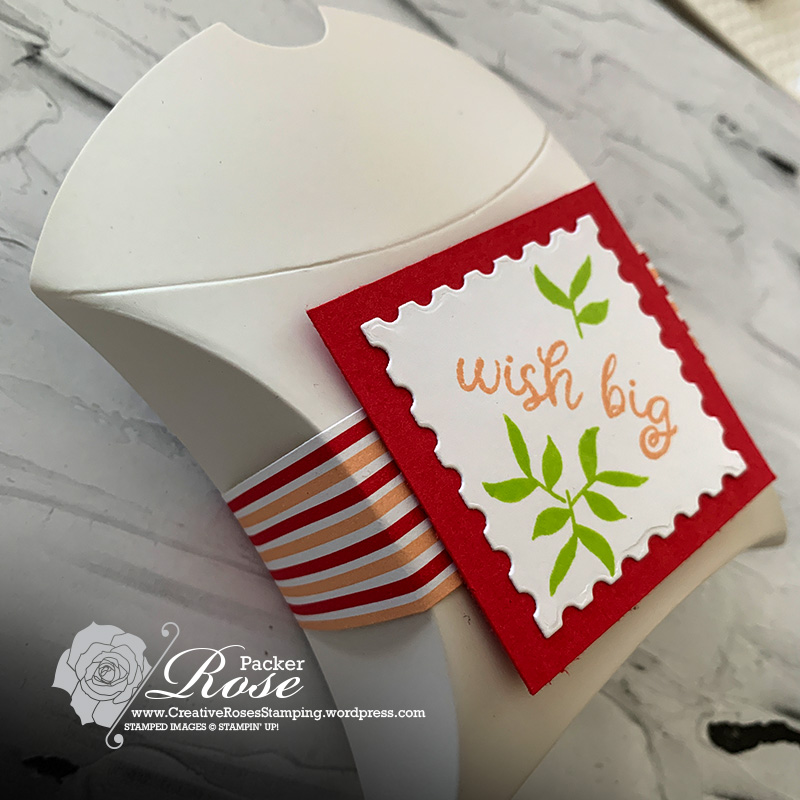
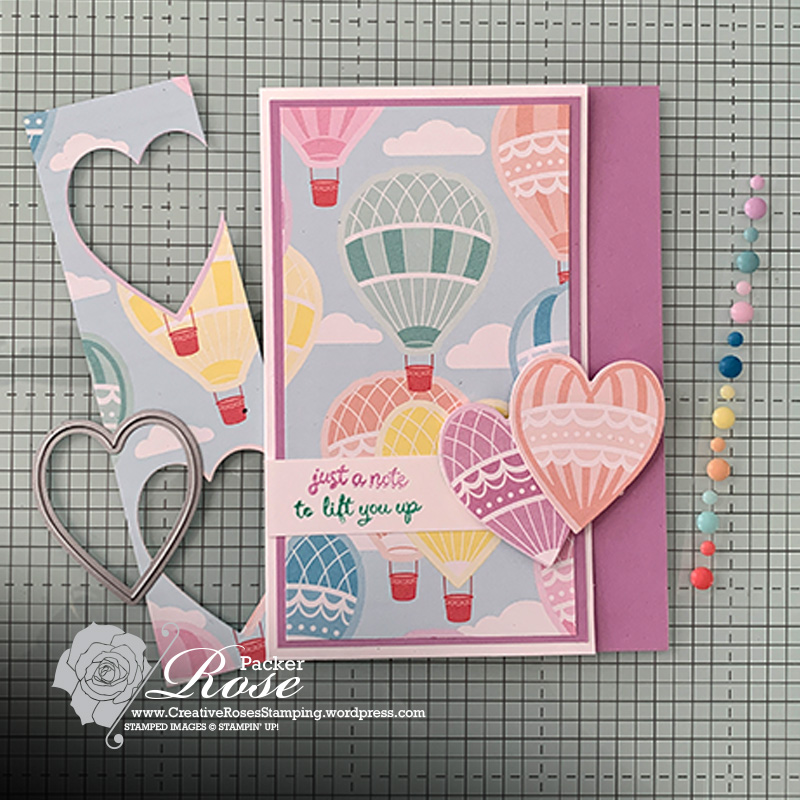
Using some of the lovely Perennial Designer paper, I layered this over a cardbase from Thick Basic White cardstock from the extra materials pack.
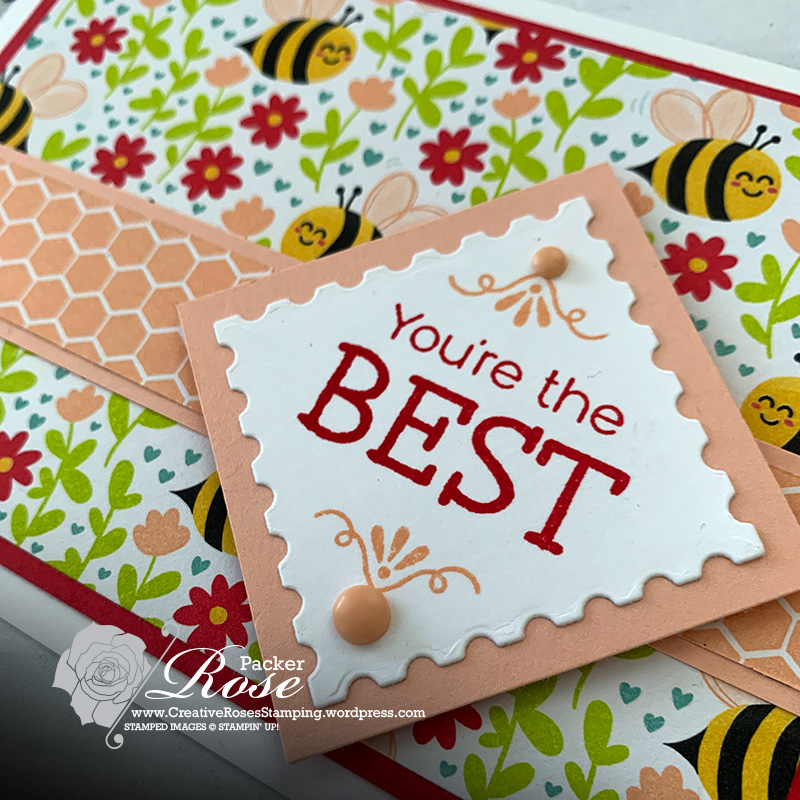
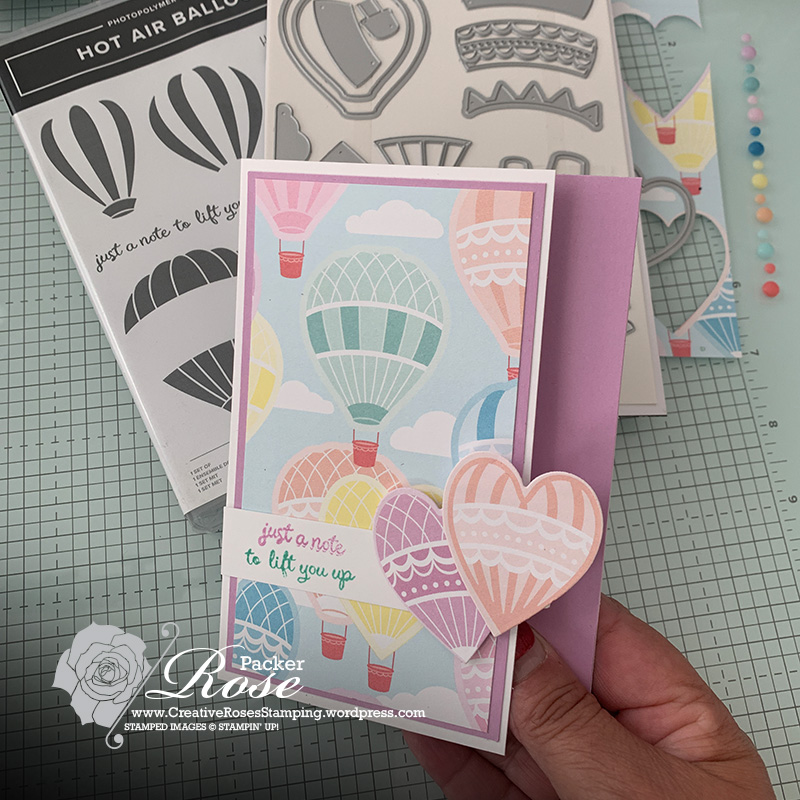
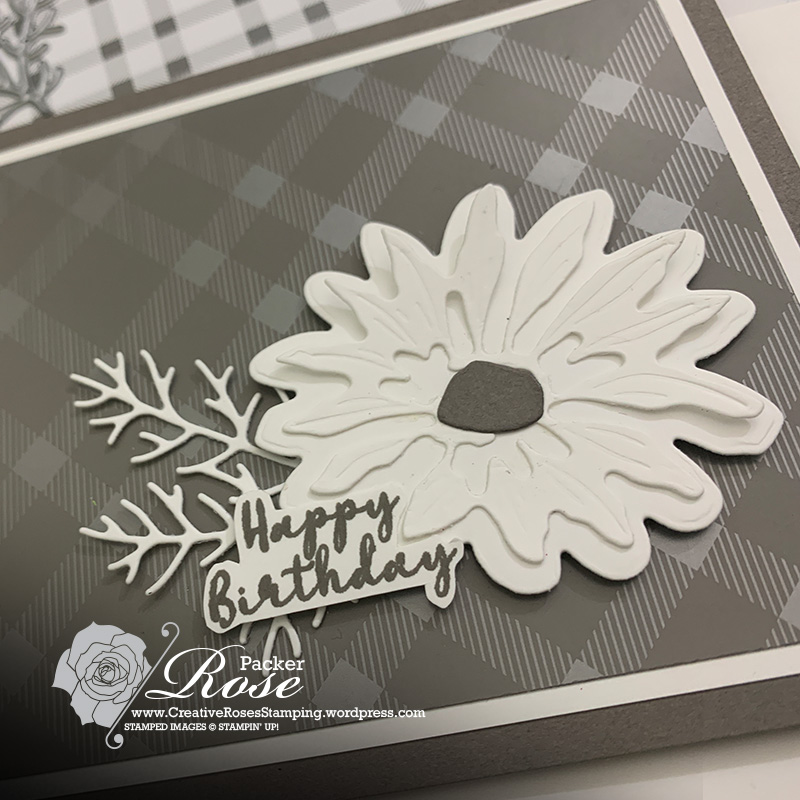
I die cut some elements: White layer from Postage dies and leaf from the Green glimmer paper (now retired). Then trimmed down some layer pieces of cardstock.
Stamping the sentiment in Highland Heather ink and the leaves in Lost Lagoon, finished off my background. So I set about adhering these together with some liquid glue, then attached the layers to the cardbase with some dimensionals.

More liquid glue was used to adhere the glimmer paper leaf die cut. I stamped and die cut some butterflies for decoration and finished with one simple purple adhesive dot embellishment.
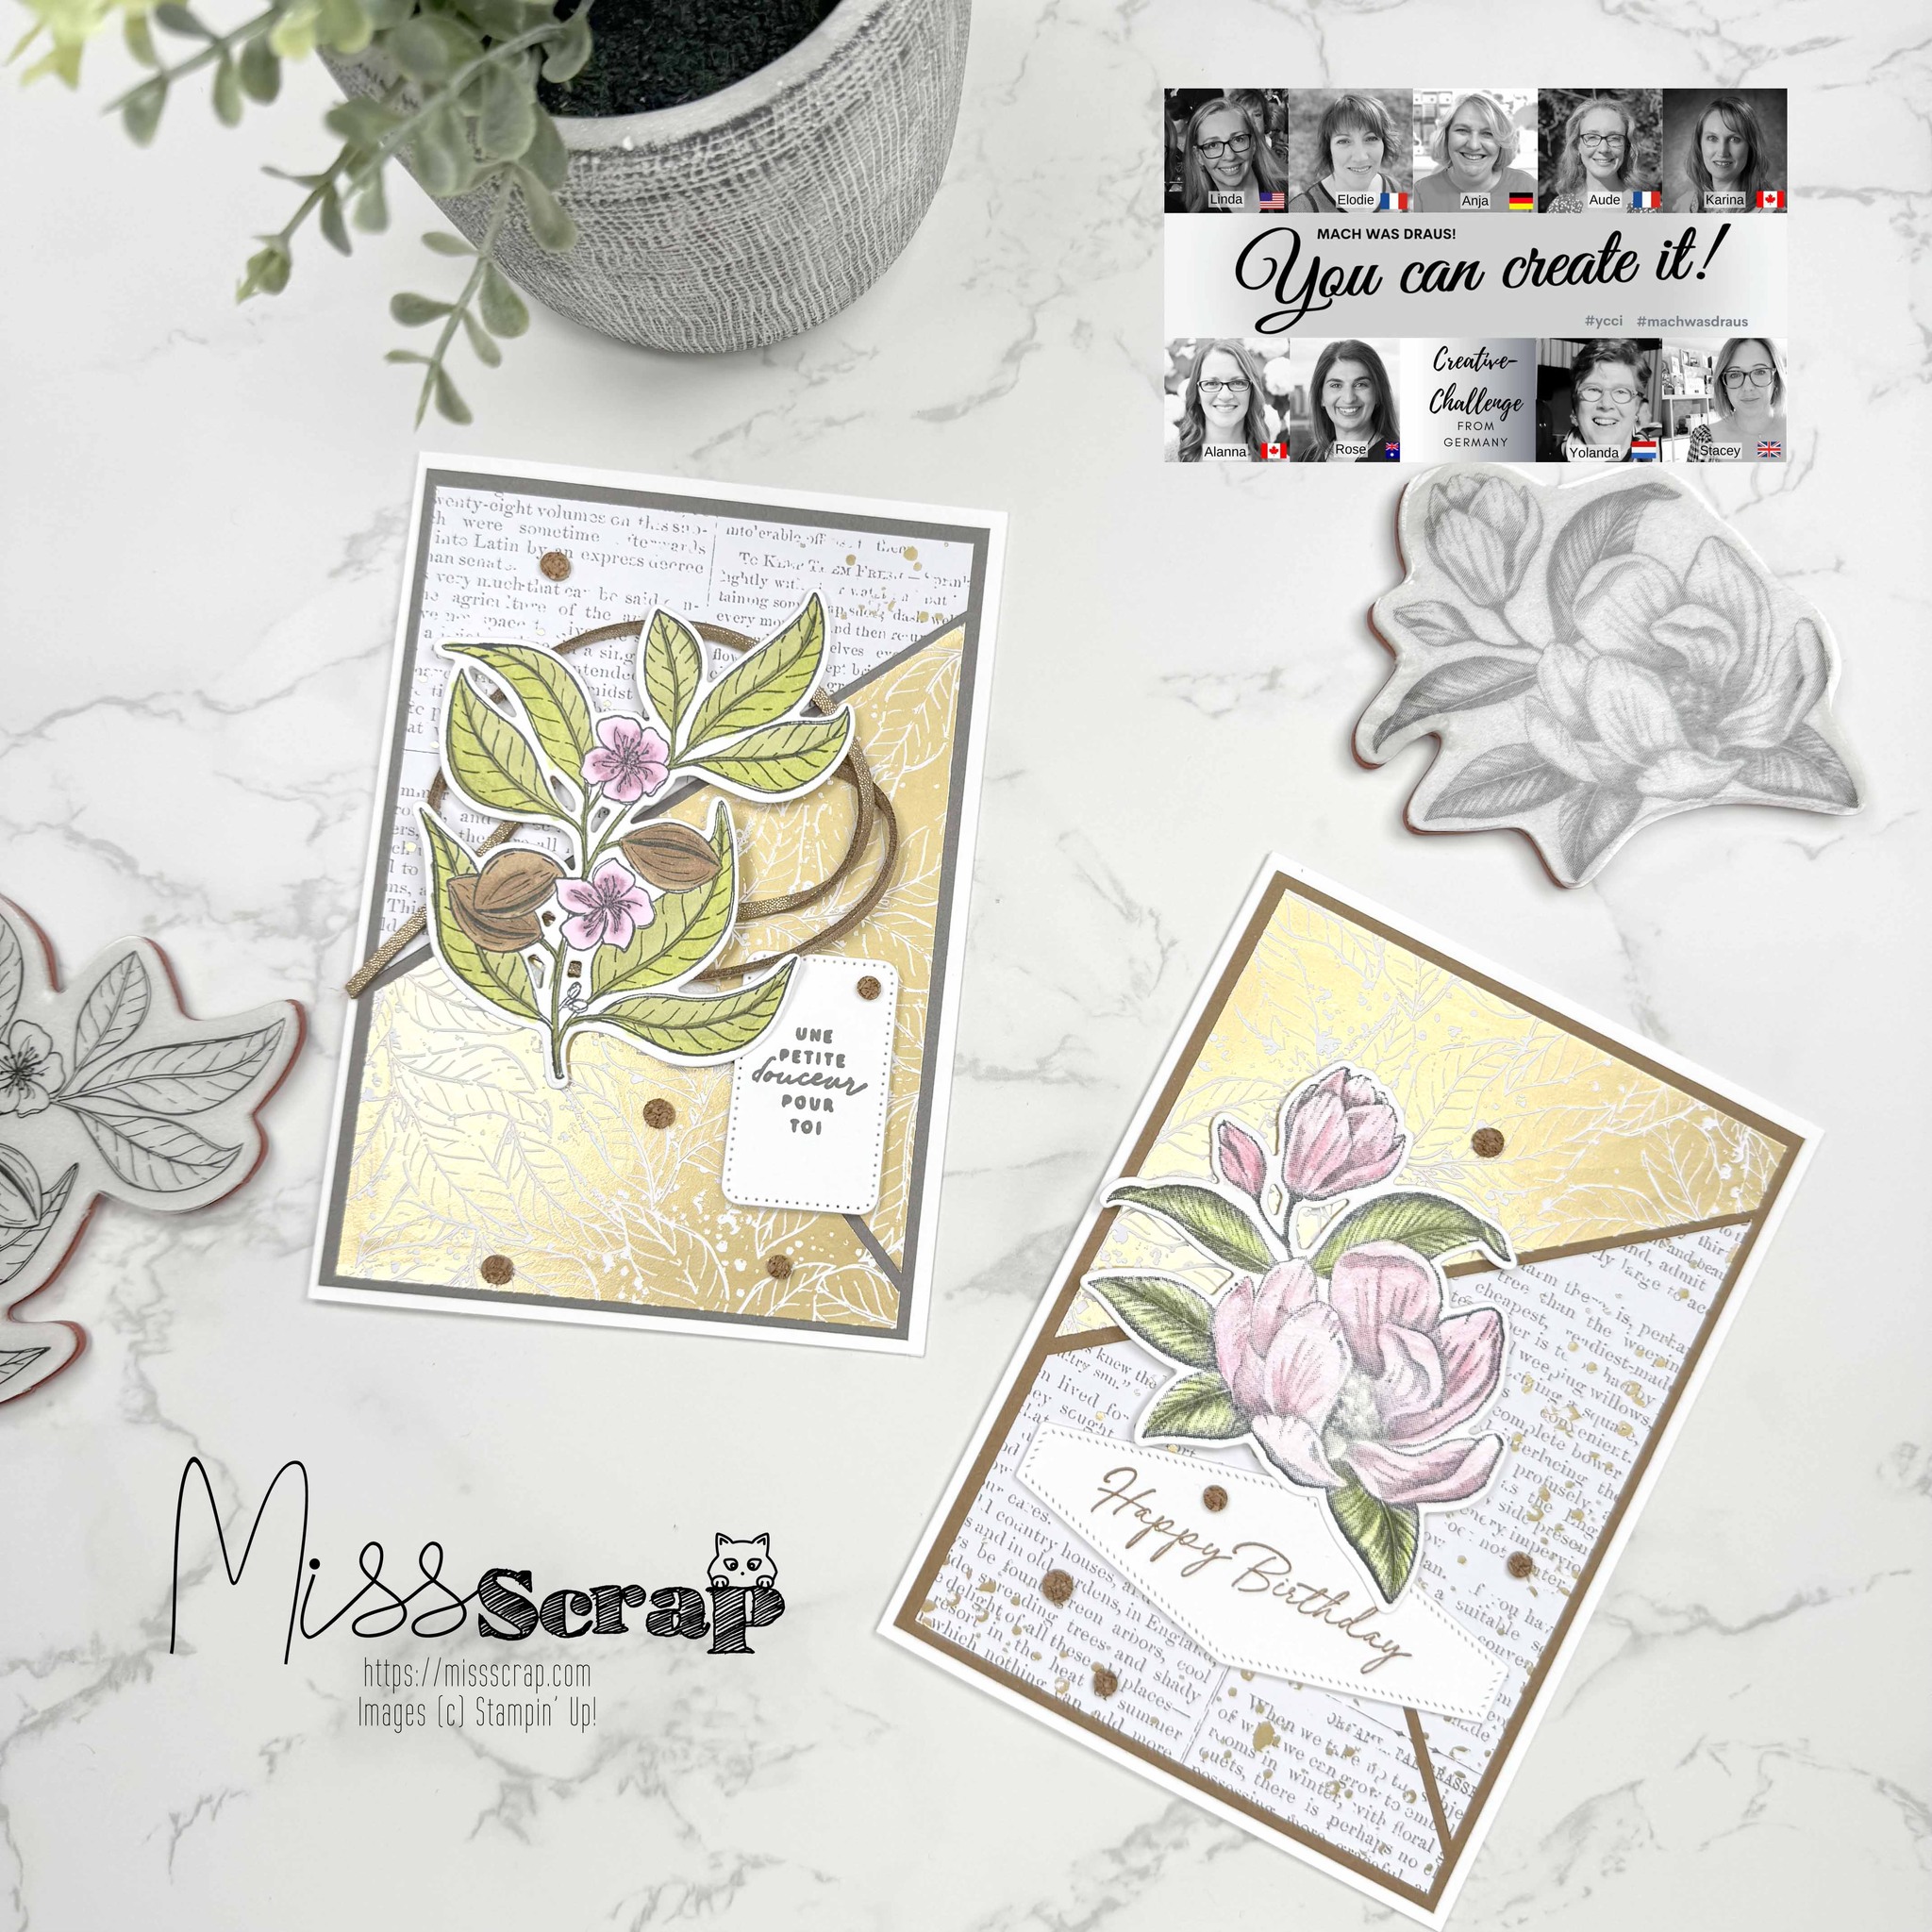
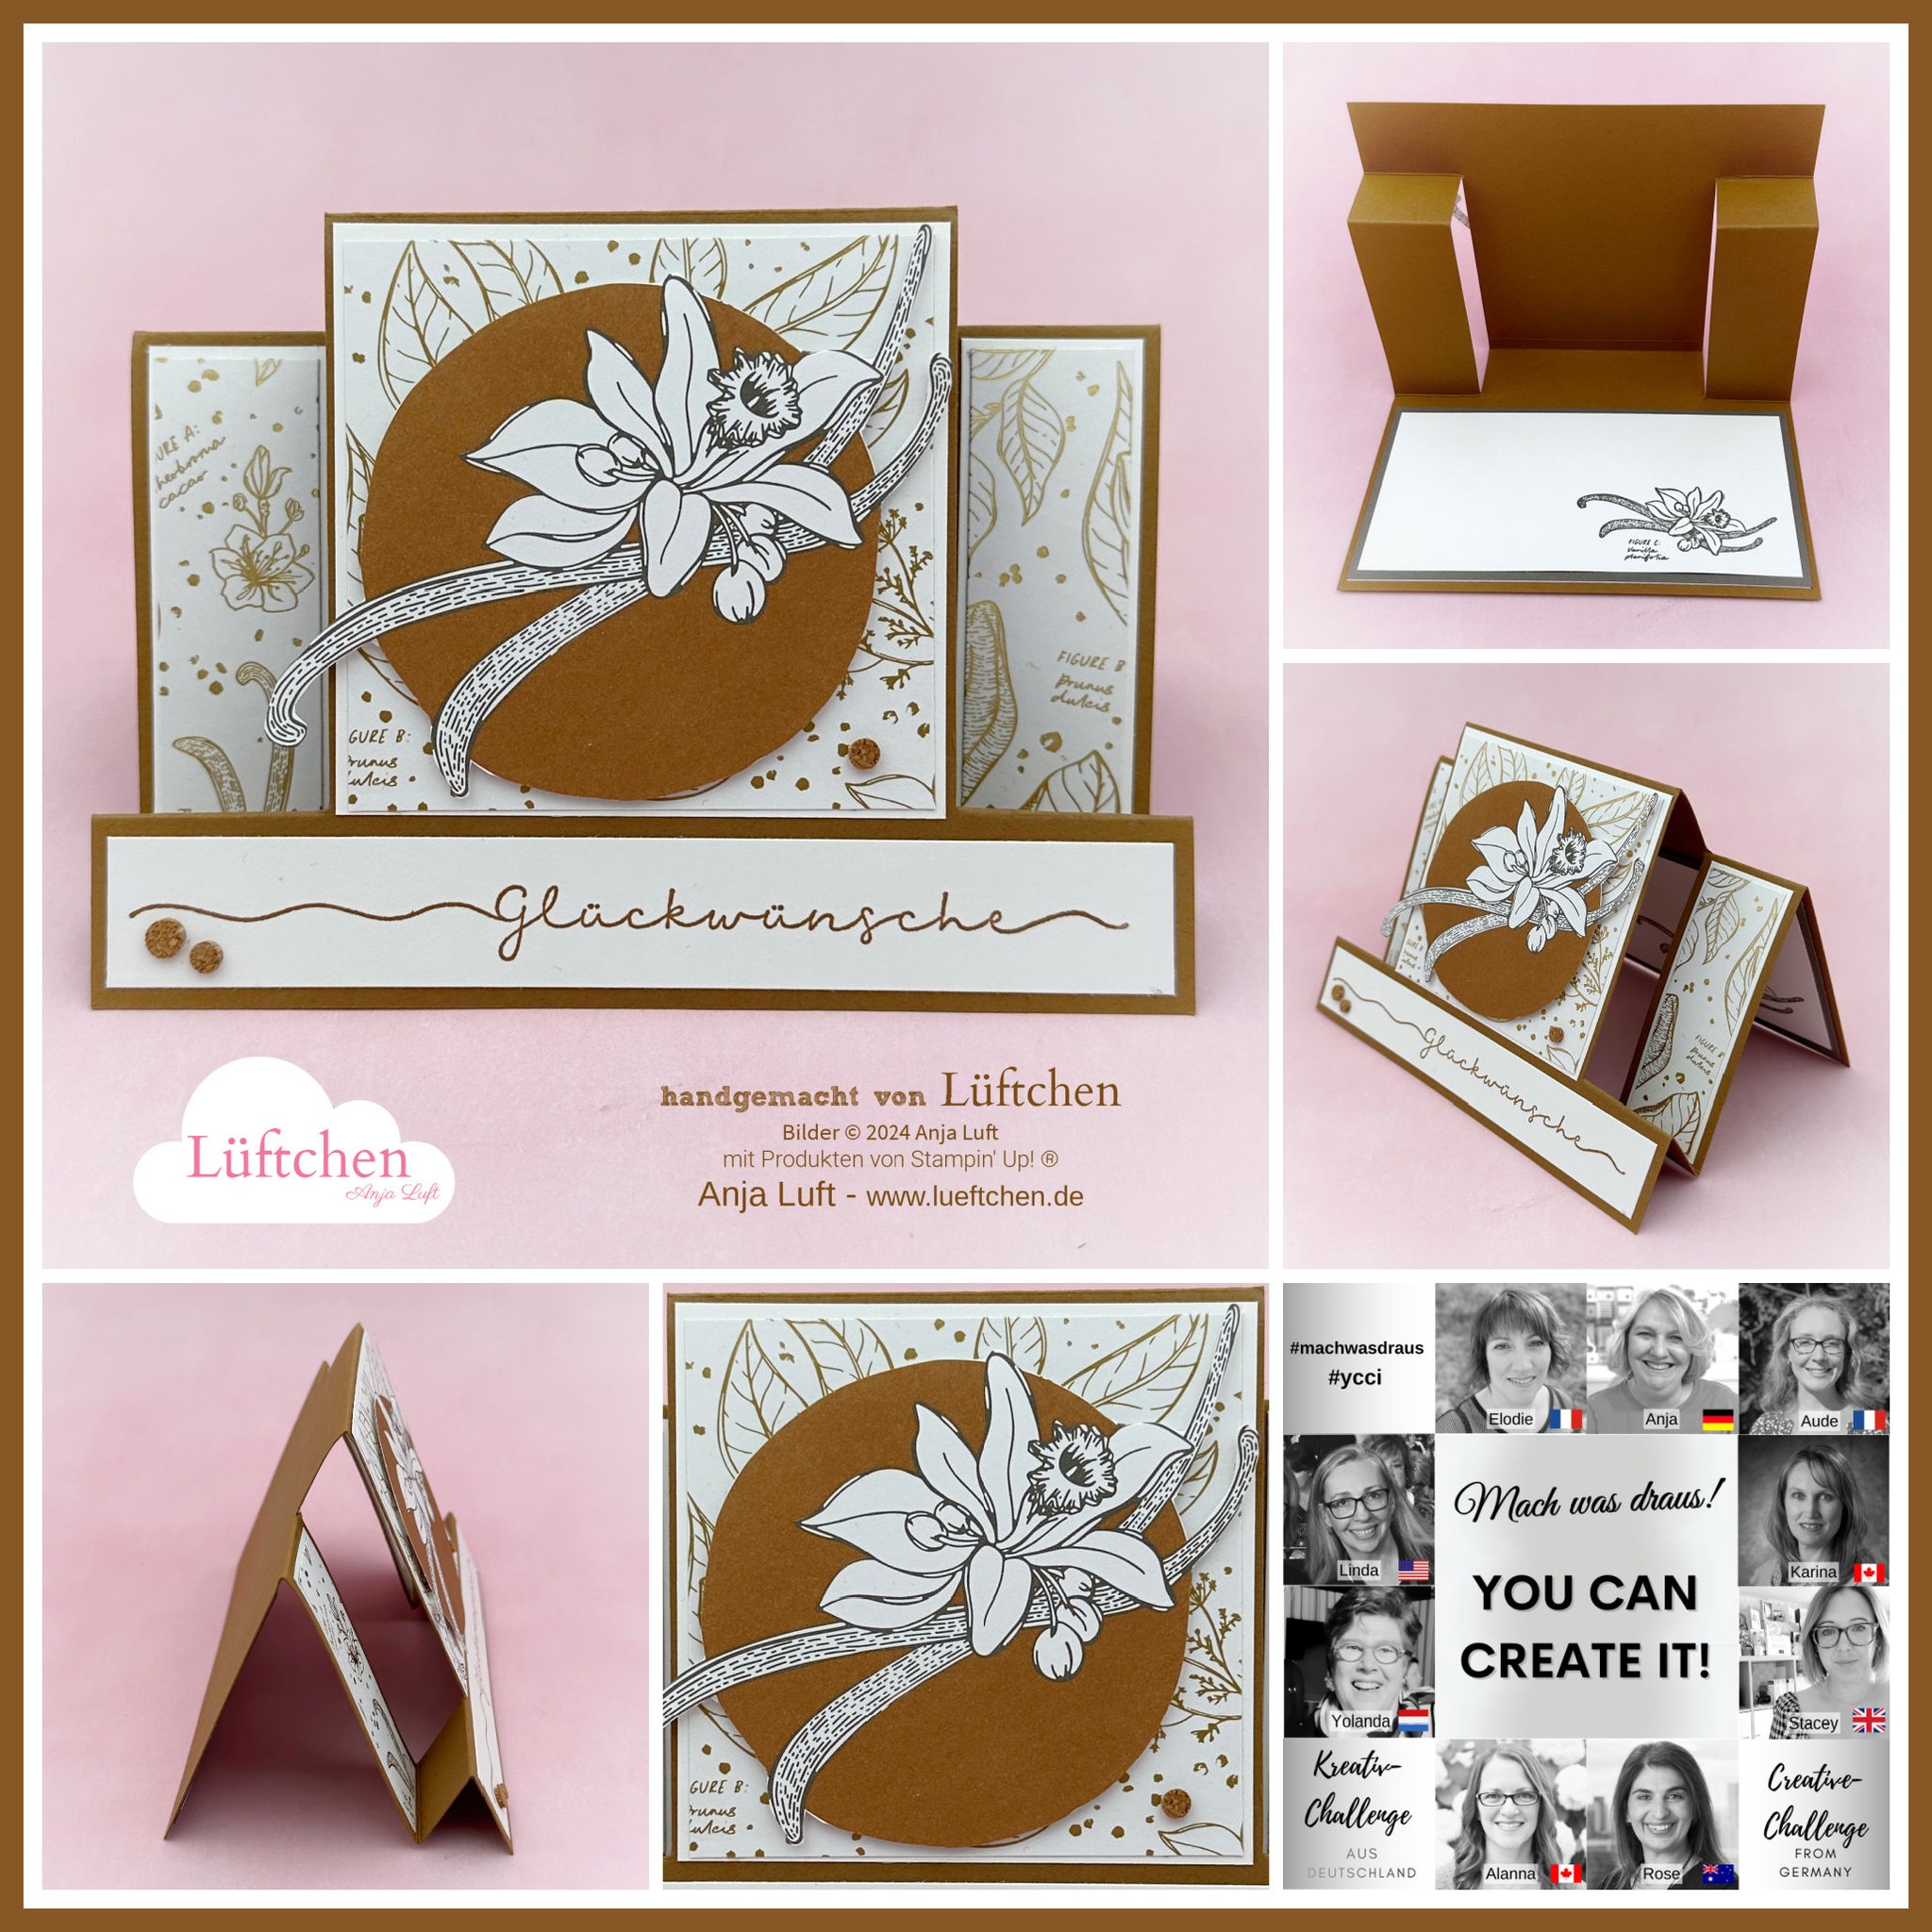
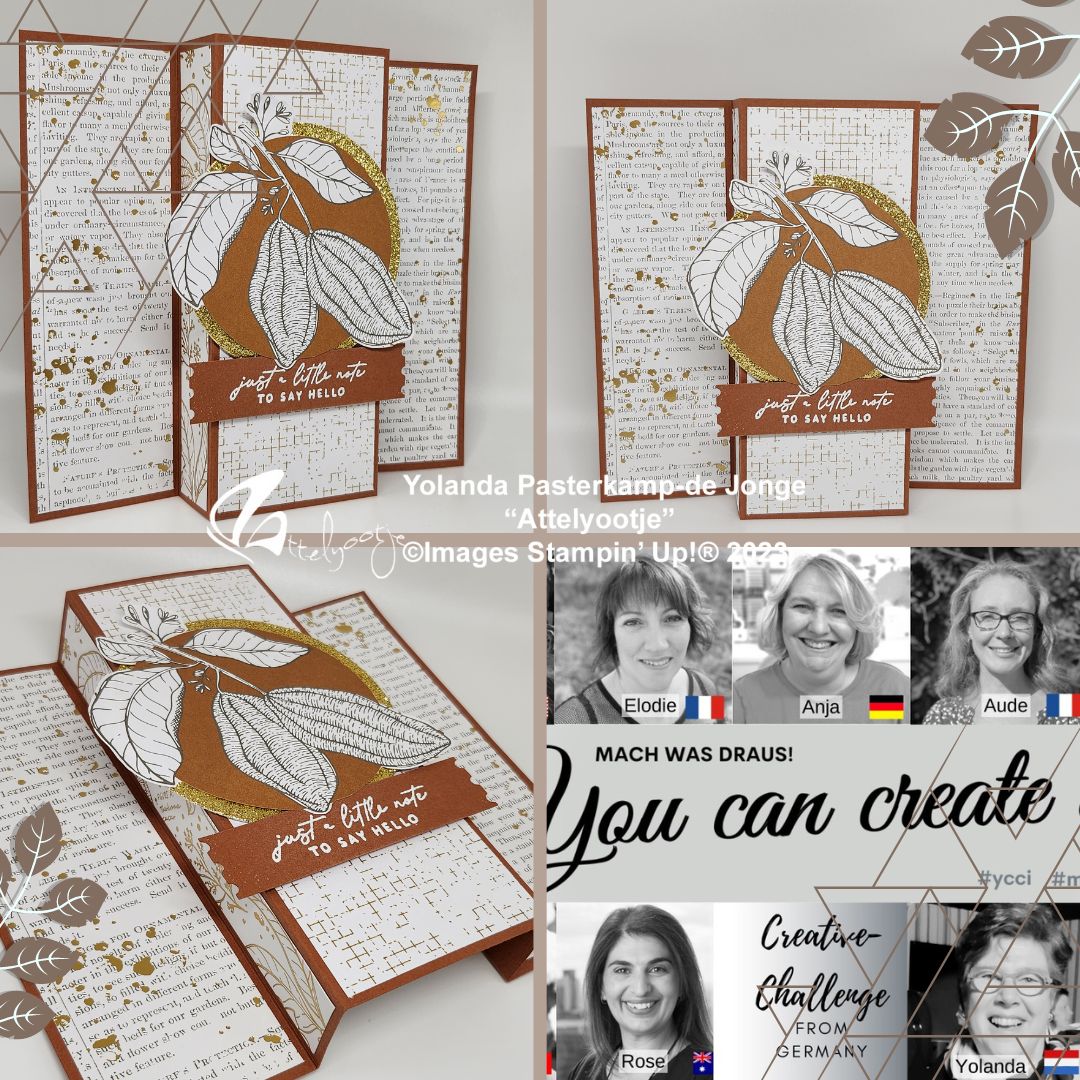
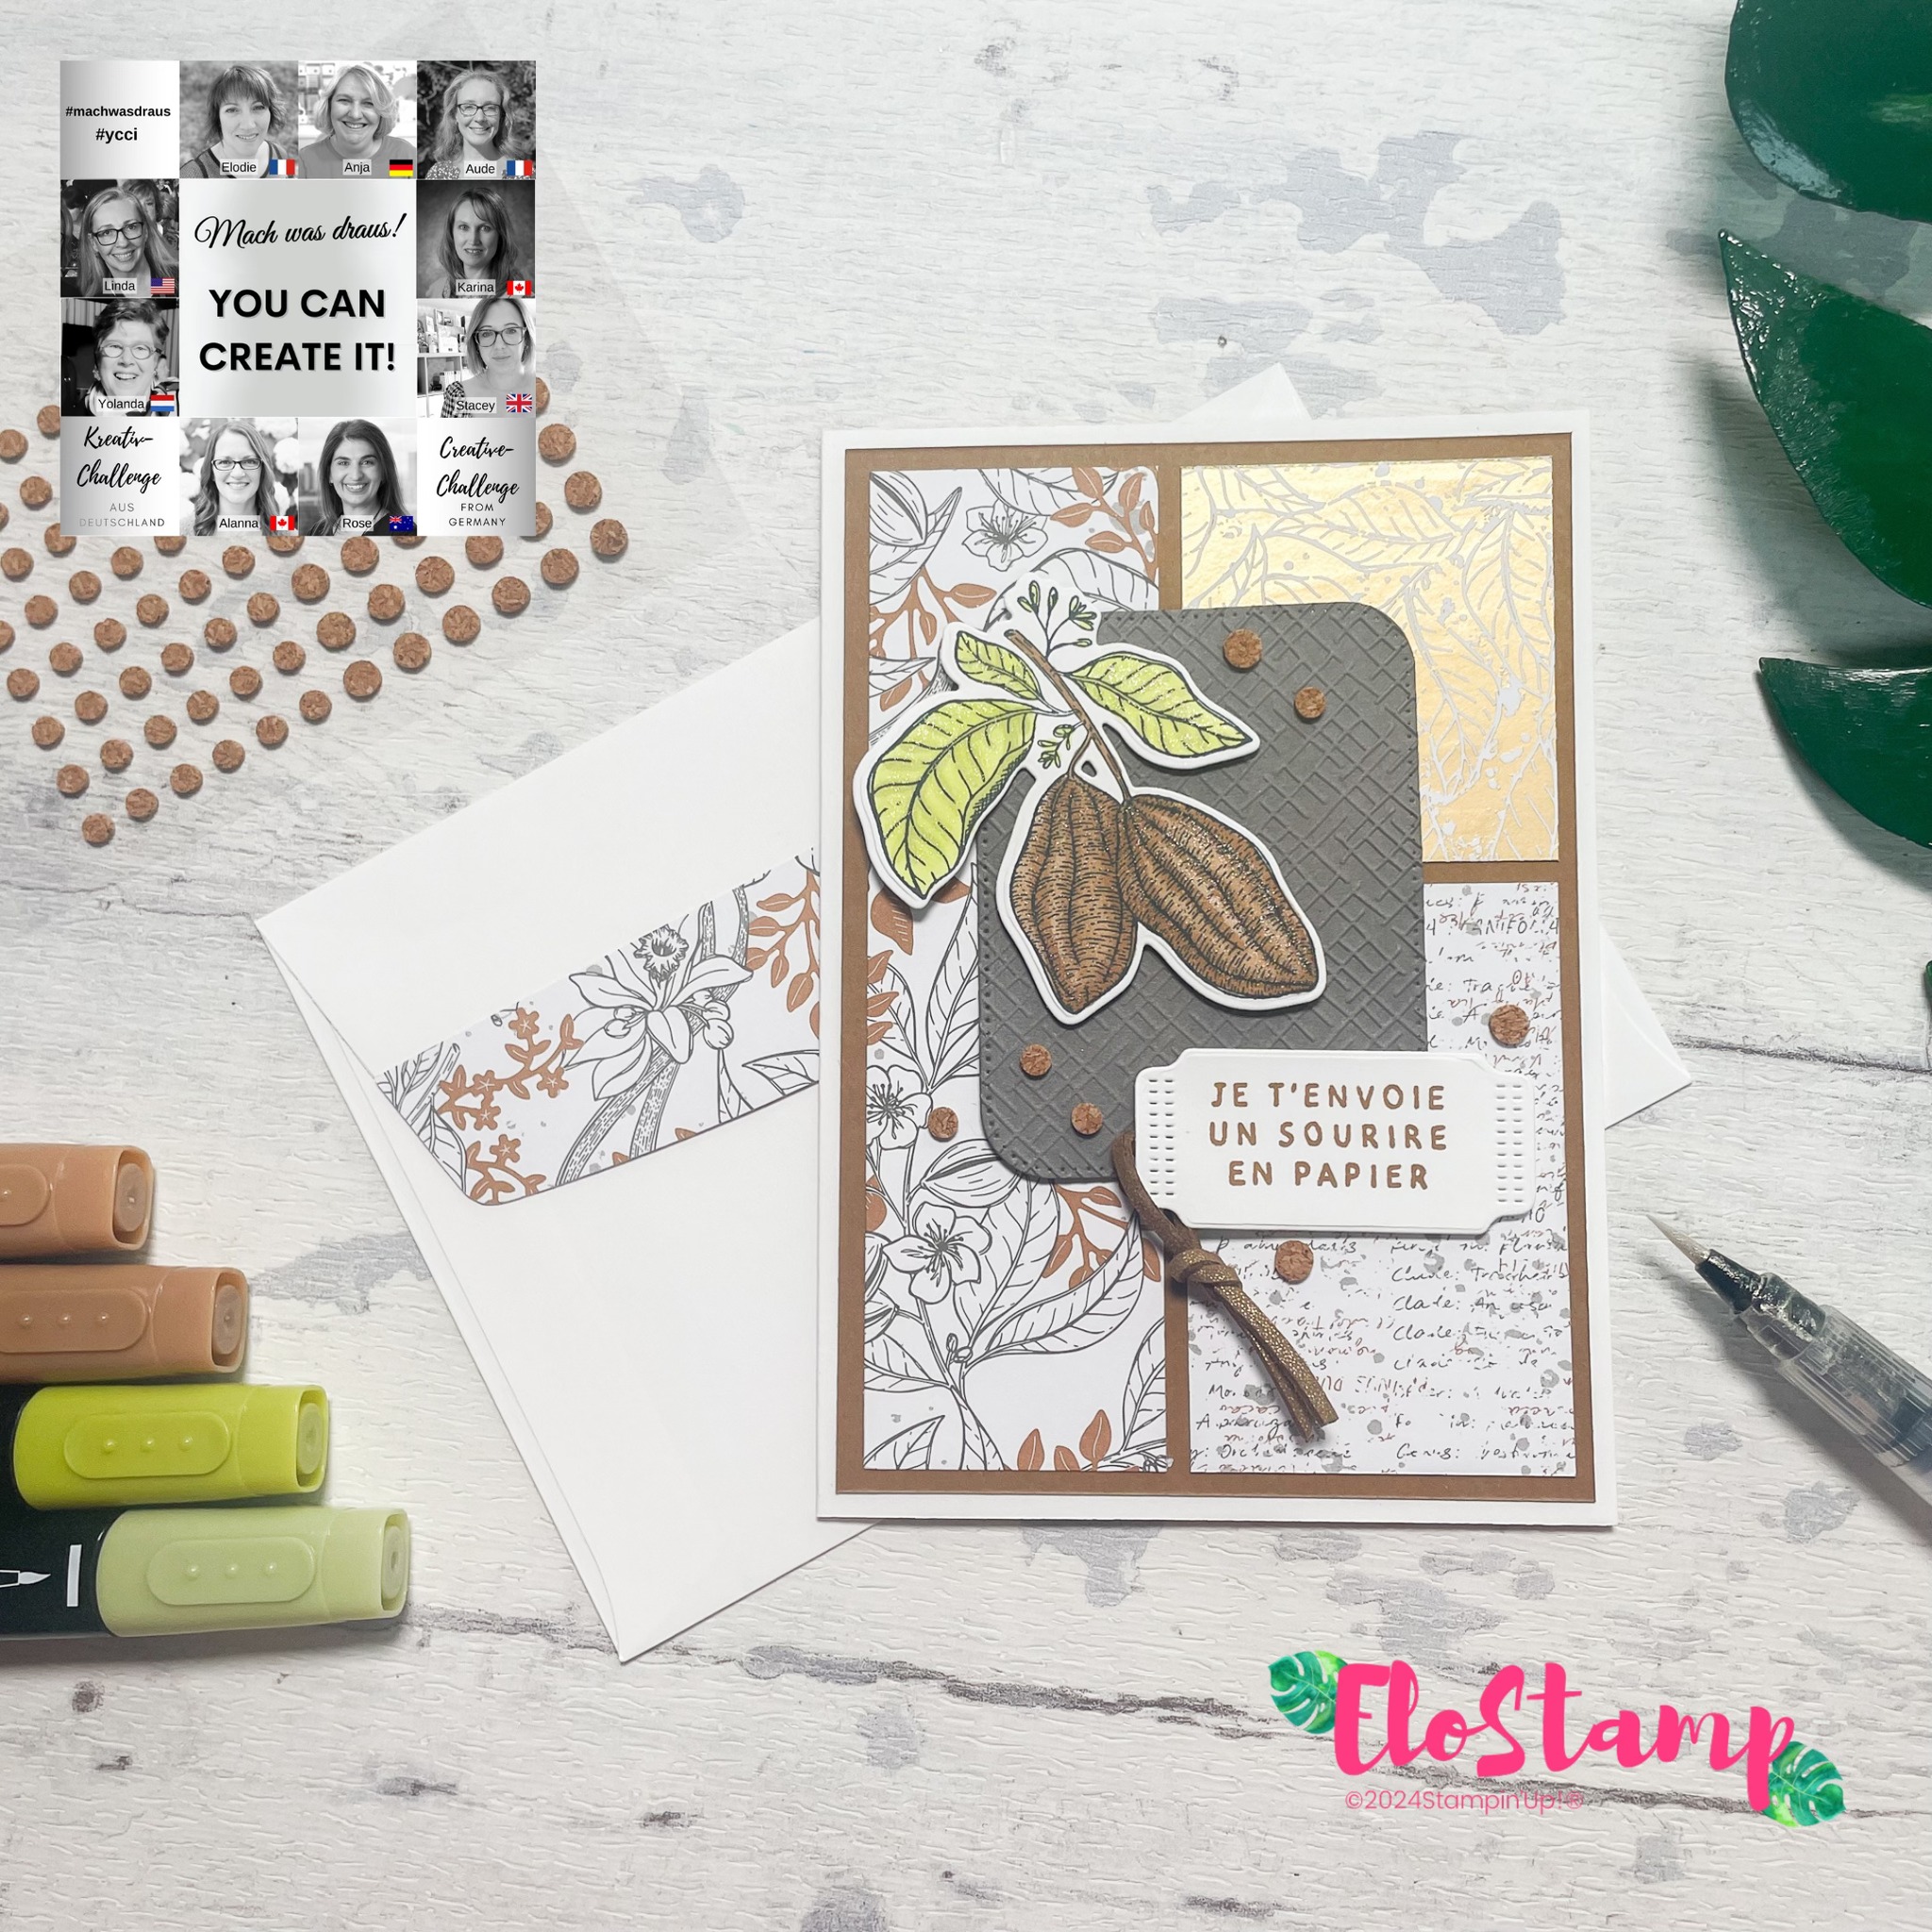
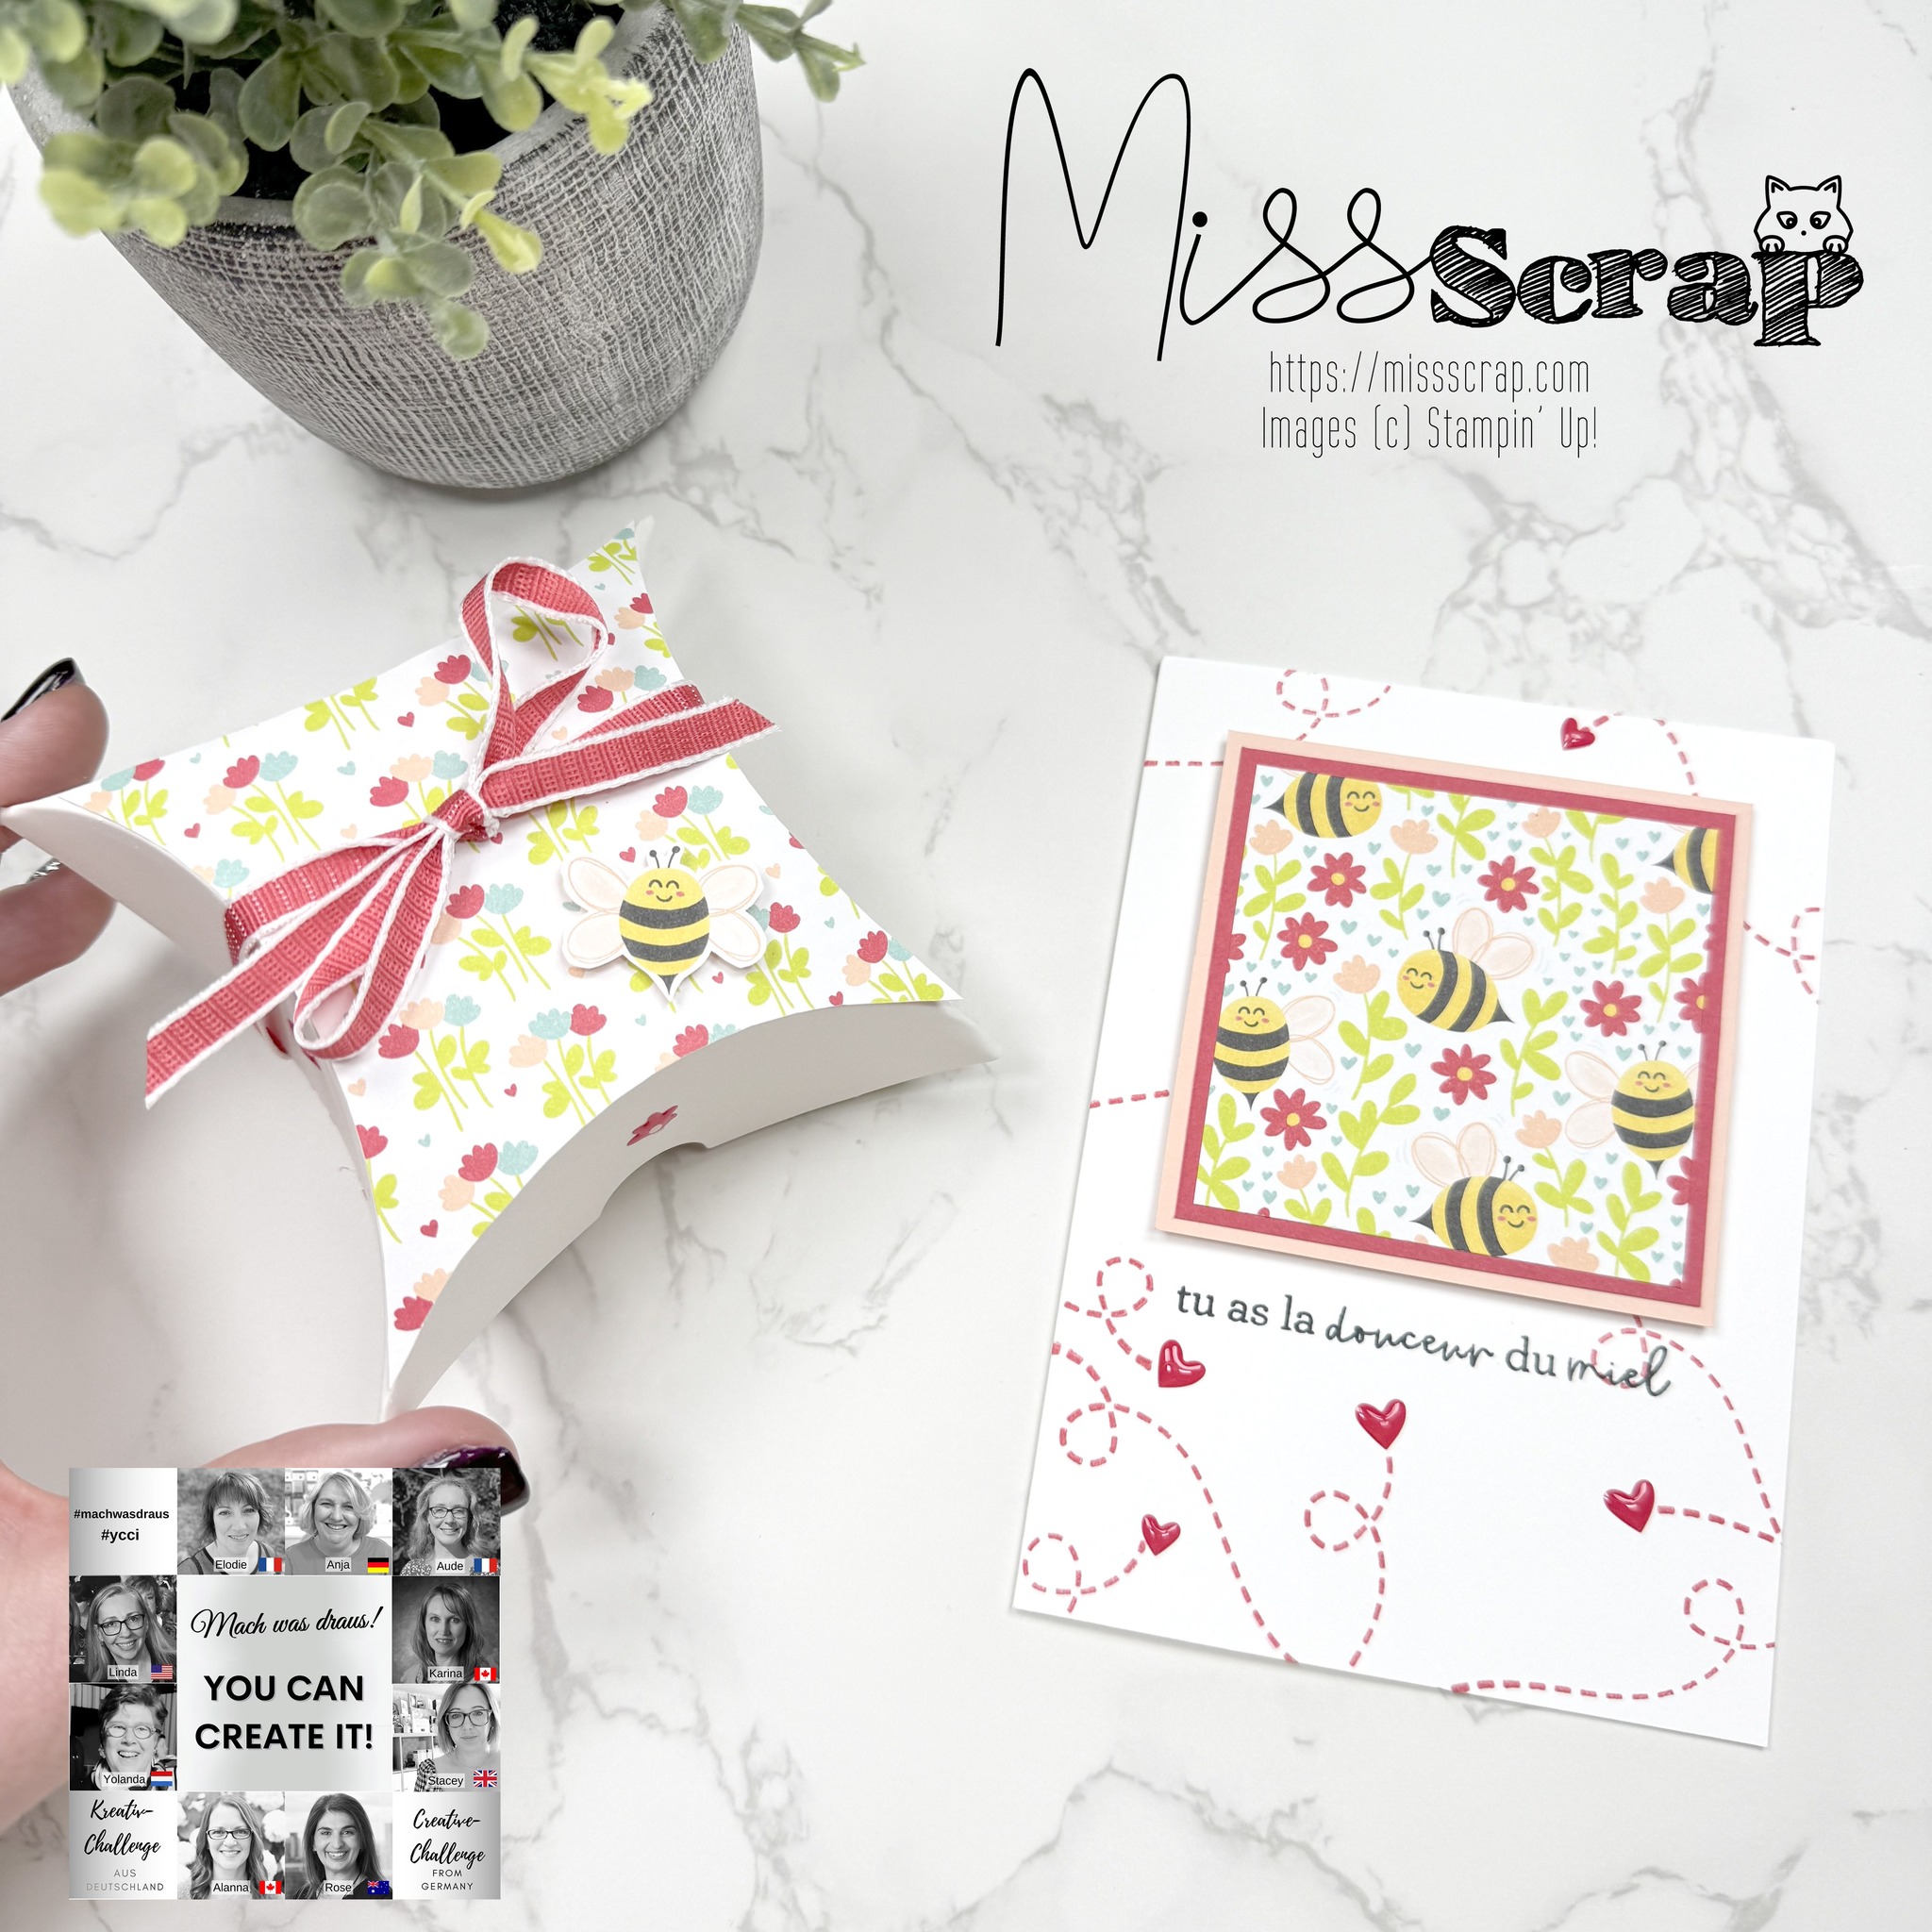
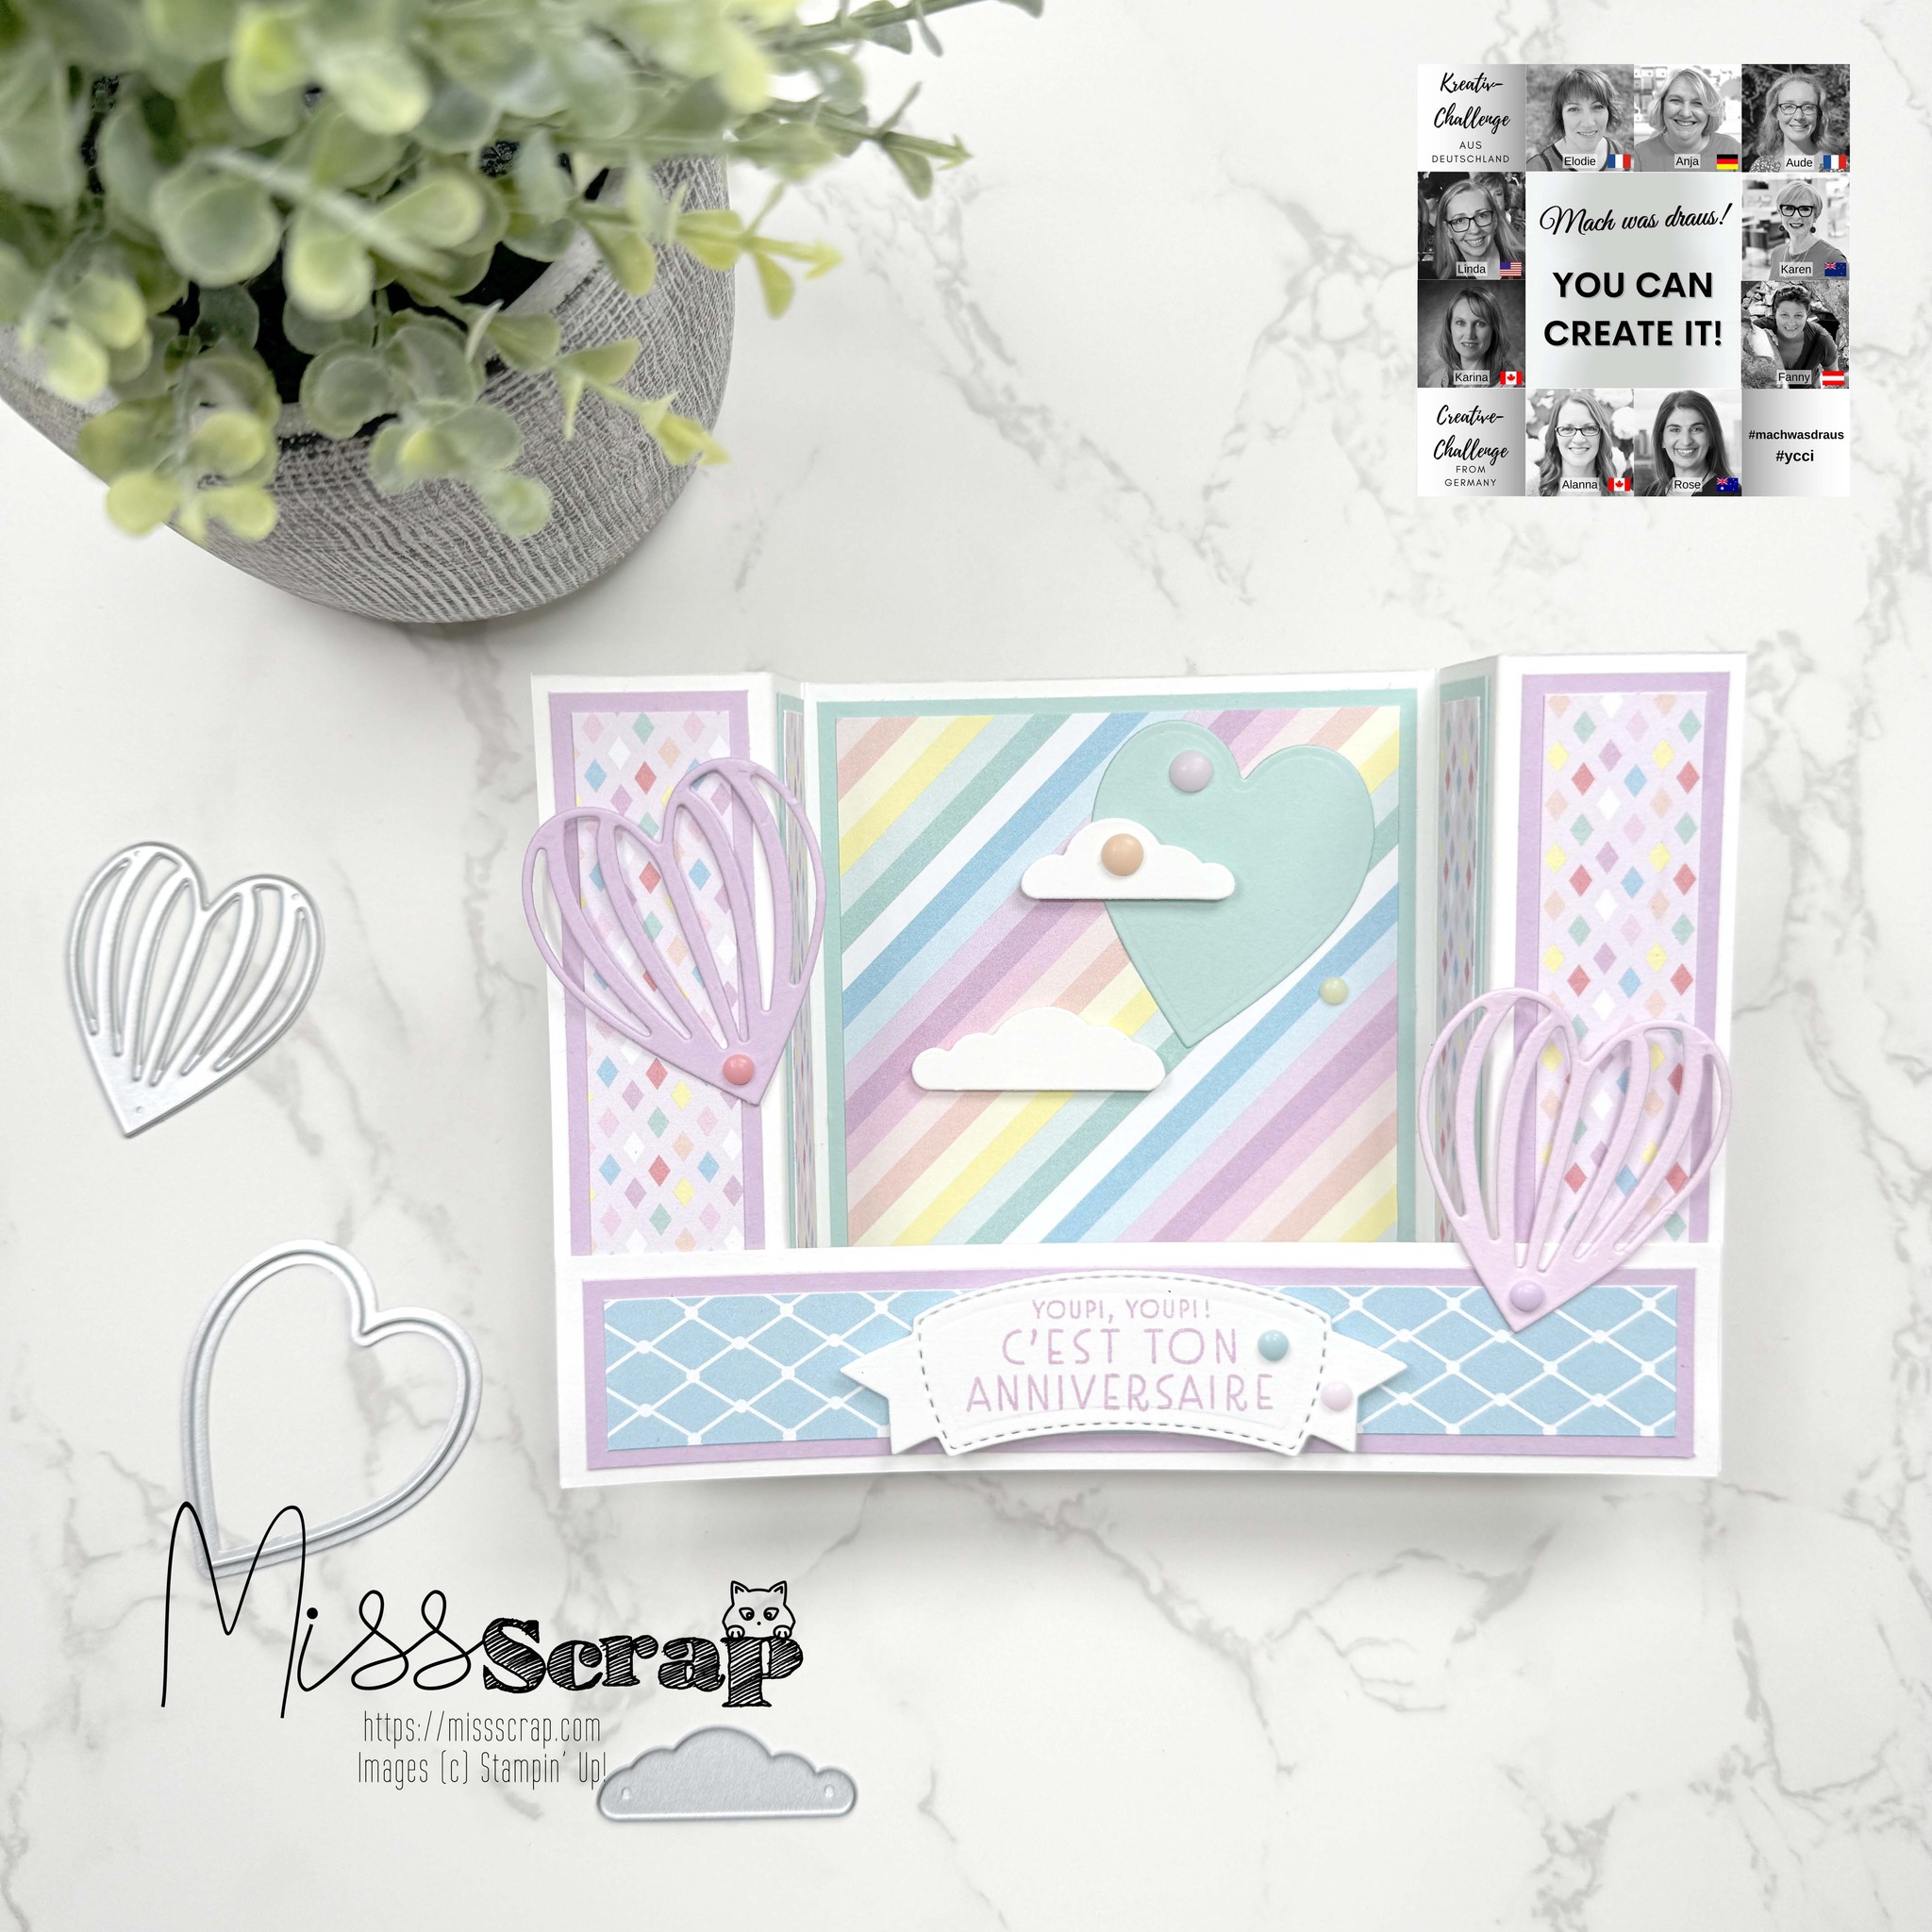
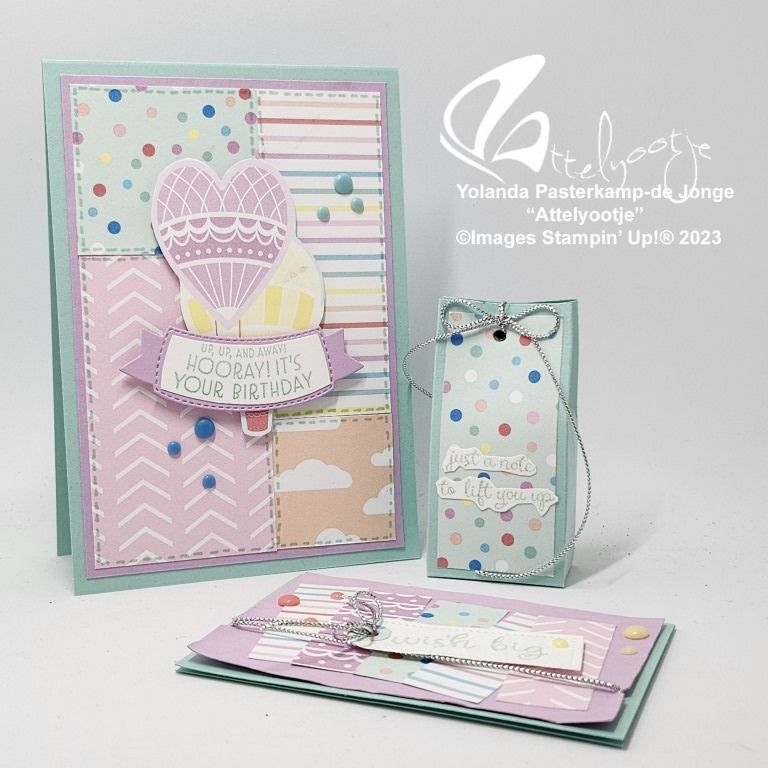
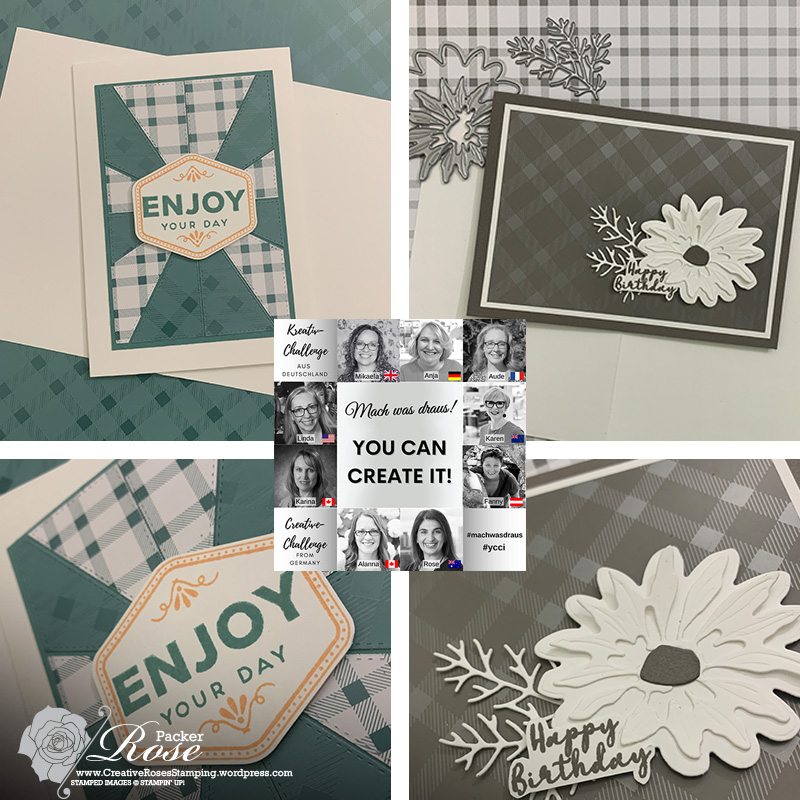
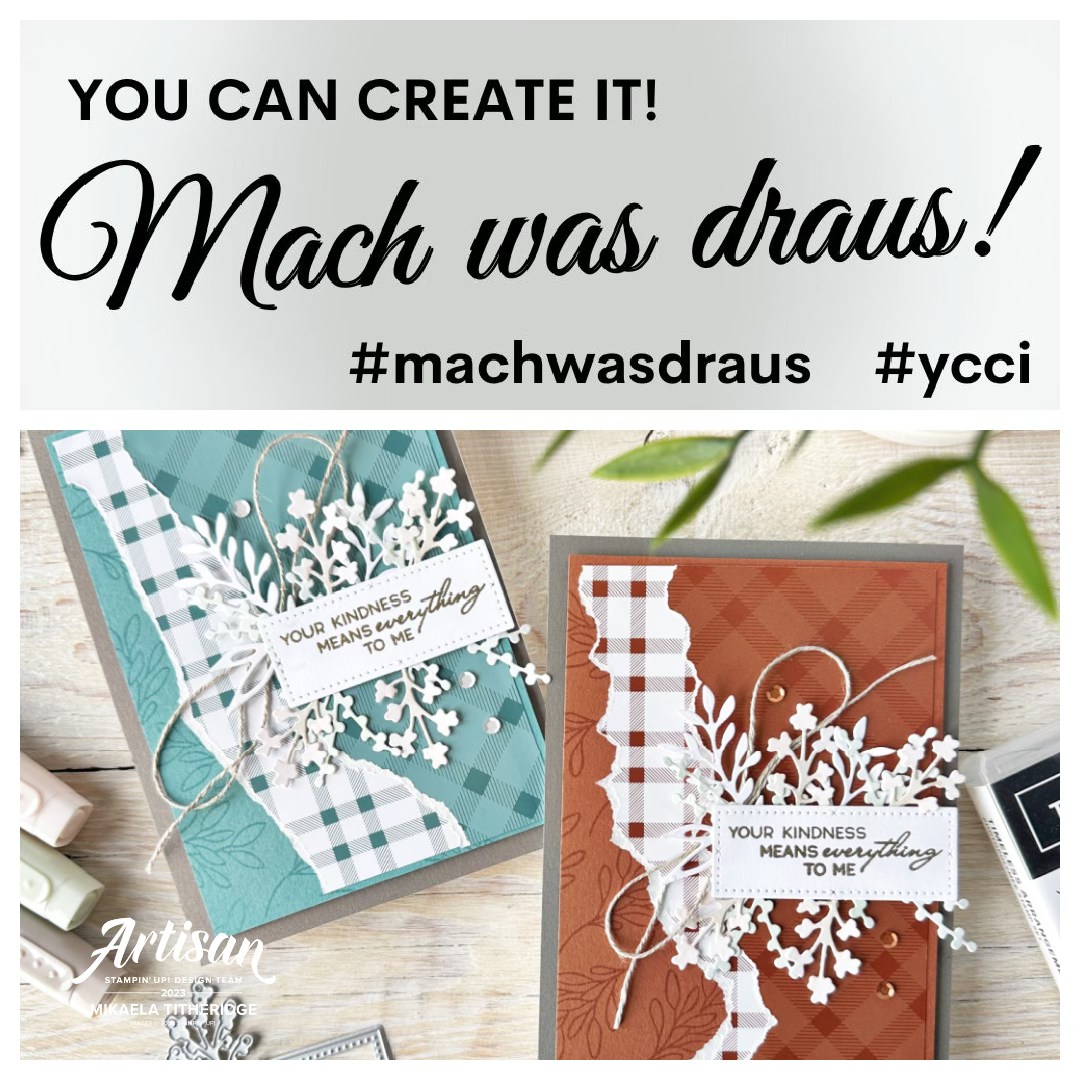
Over in my VIP customer Facebook group, we have share more projects using this pack, it’s been quite fun to see the different projects made with the same elements.
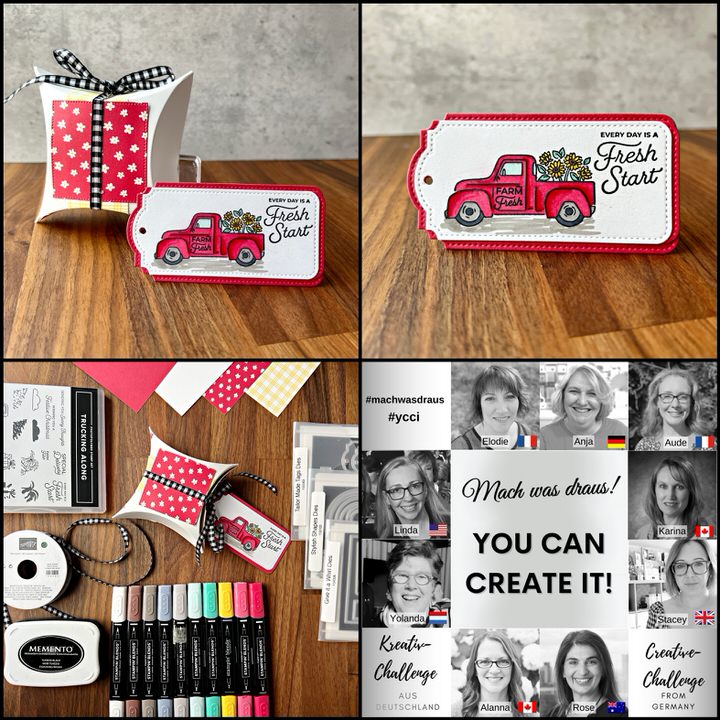
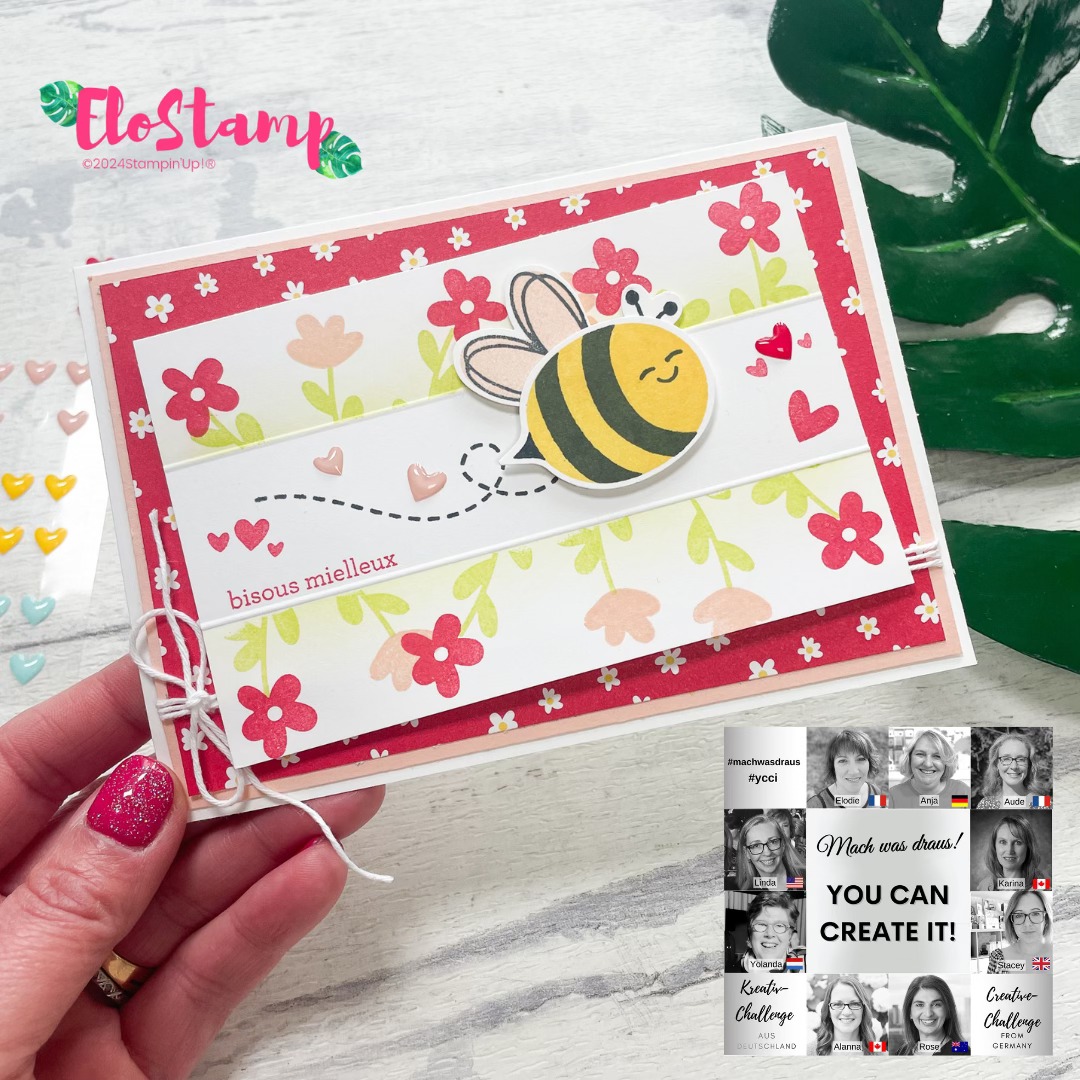
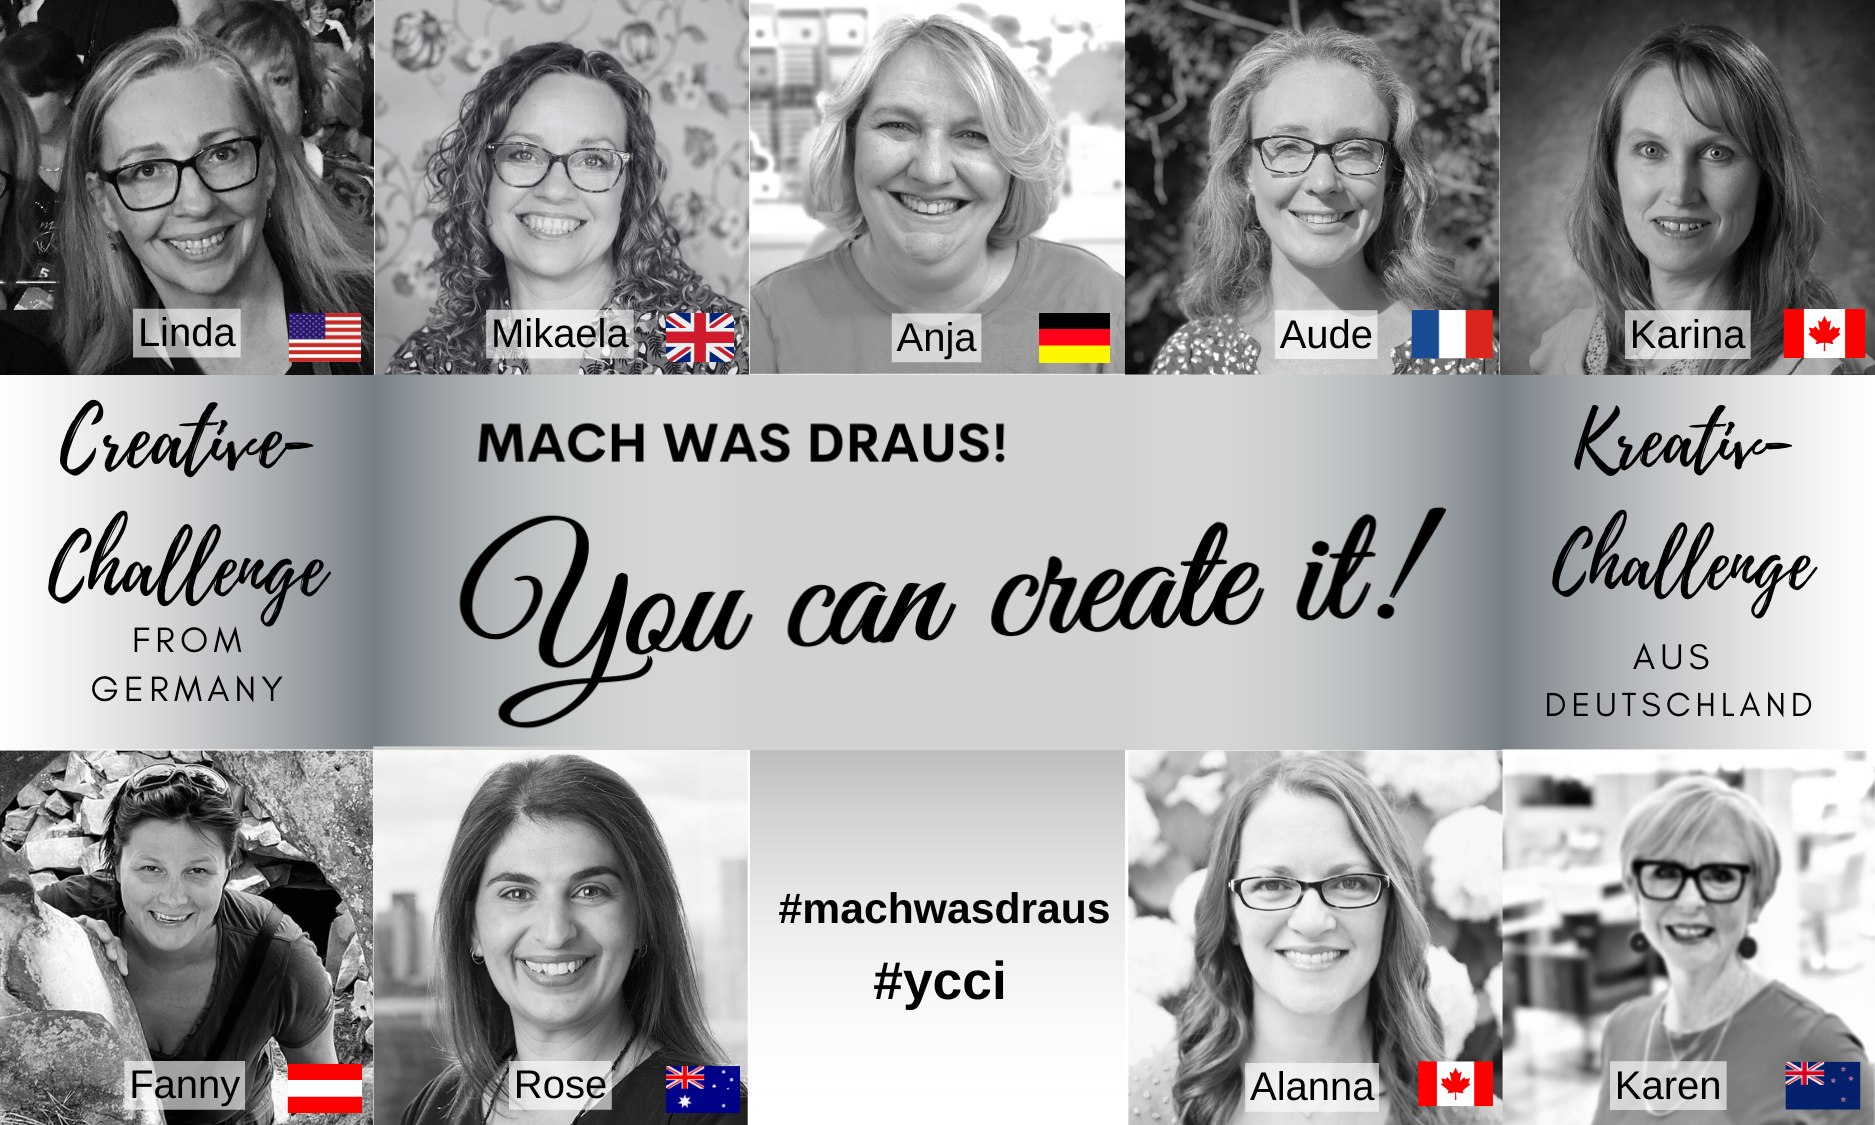
Here are the ideas from our Global Demonstrators for this months kit:


Until next time… Stamp Creatively,

Click to shop supplies used in this project:
 $81.75 | |||
 $14.00 |
")
 Designer Series Paper")

 Specialty Paper")


Stampin’ Staples – Click to shop these commonly used crafting supplies:
 $18.50 |  $15.00 |  $9.75 |  $10.25 |  $7.50 |
 $12.25 |  $14.00 |  $10.50 |  $46.00 | |
 $19.25 |  $8.75 |  $12.25 |  $19.25 | |
 $223.00 |  $12.25 |  $16.75 |  $23.00 | |
 $16.75 |


")
")
 Specialty Designer Series Paper")


")
")

 Designer Series Paper")


")
 Designer Series Paper")


 Specialty Designer Series Paper")


")
")


 Designer Series Paper")
")
")


 Specialty Designer Series Paper")
 Specialty Designer Series Paper")
")


")
 Designer Series Paper")


 Specialty Paper")


")
")
 Designer Series Paper")


 Circle Punch")
 Circle Punch")


